
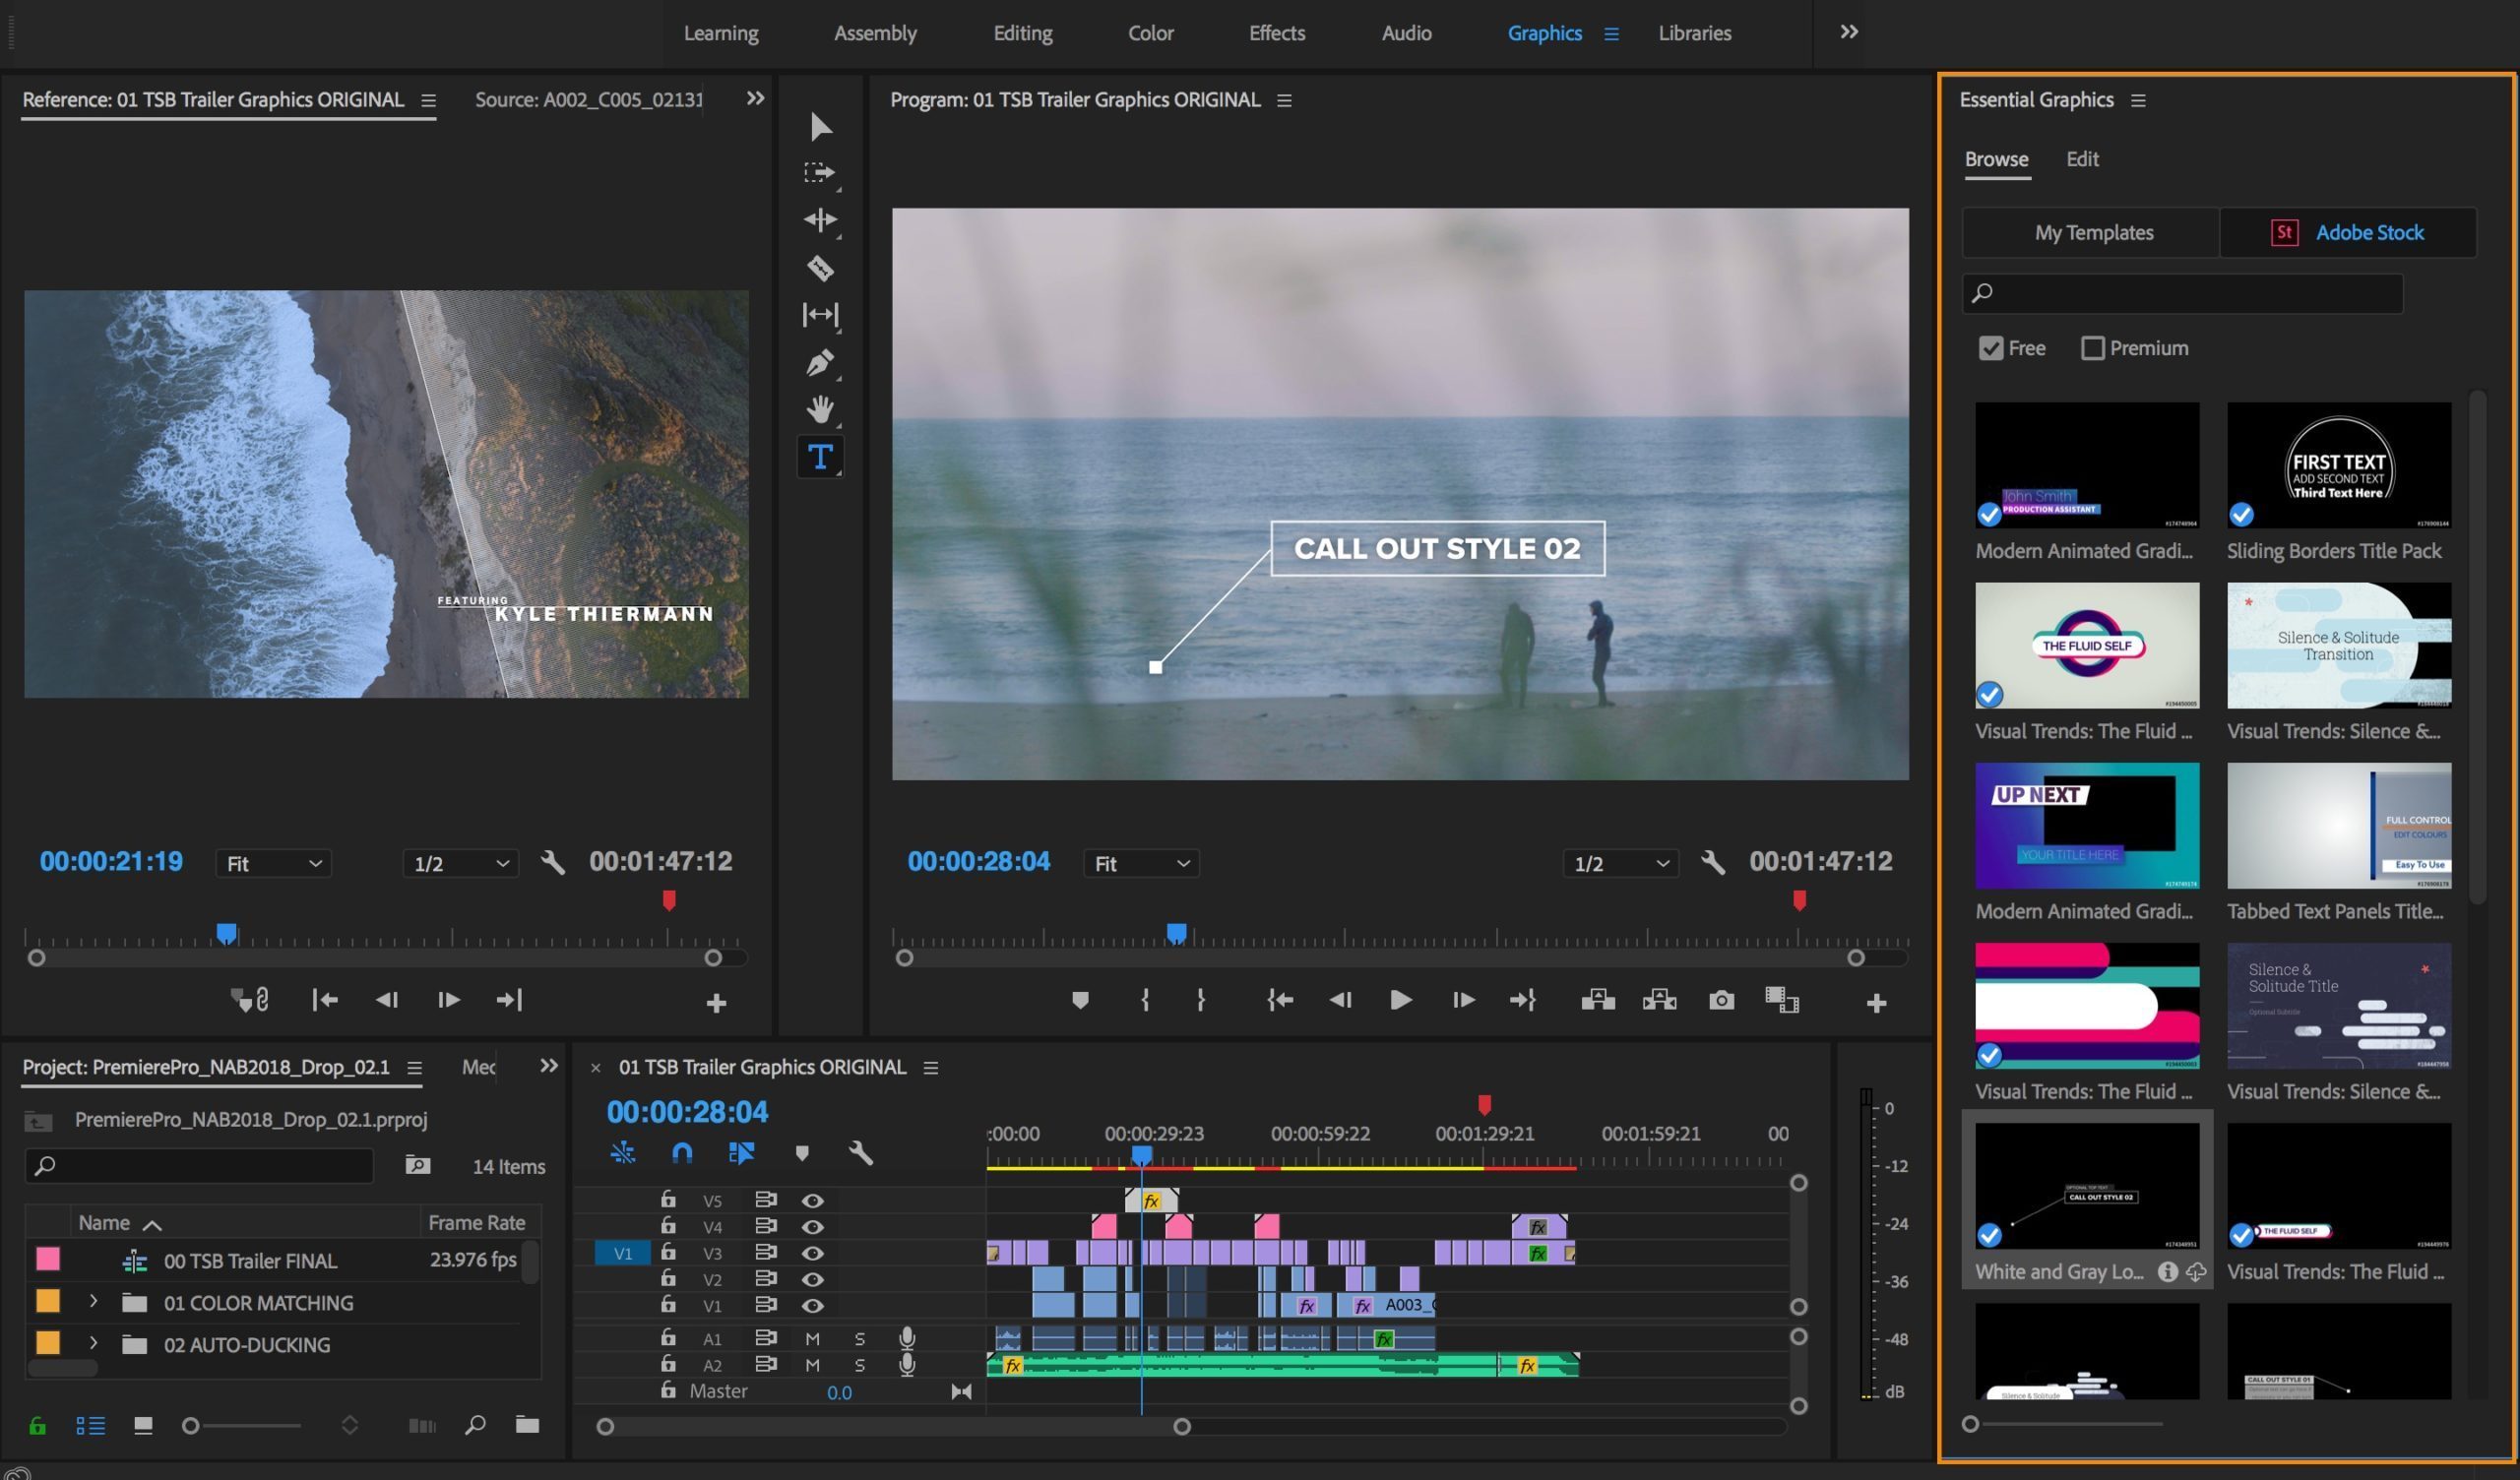
Adobe Premiere Pro is a timeline based and non-linear video editing software application that allows users to finely edit and produce video media. For this particular exercise, we needed to use the software to create a visually pleasing introduction video exploring ourselves. We were given strict scenes to follow and creative freedom could be explored through adding effects, transitions, animations, and text.
We had 6 main sections to include in our 1 minute composition. These were
- a title screen (your name)
- a graphic identity (your ident)
- selfie camera footage of yourself talking to a camera (introducing yourself)
- location footage of your environment (my world) – avoiding a shot of your room and computer unless you can make it interesting
- further selfie camera footage (what’s next) – this needs to be different from the first shot
- end screen and credits (fin).
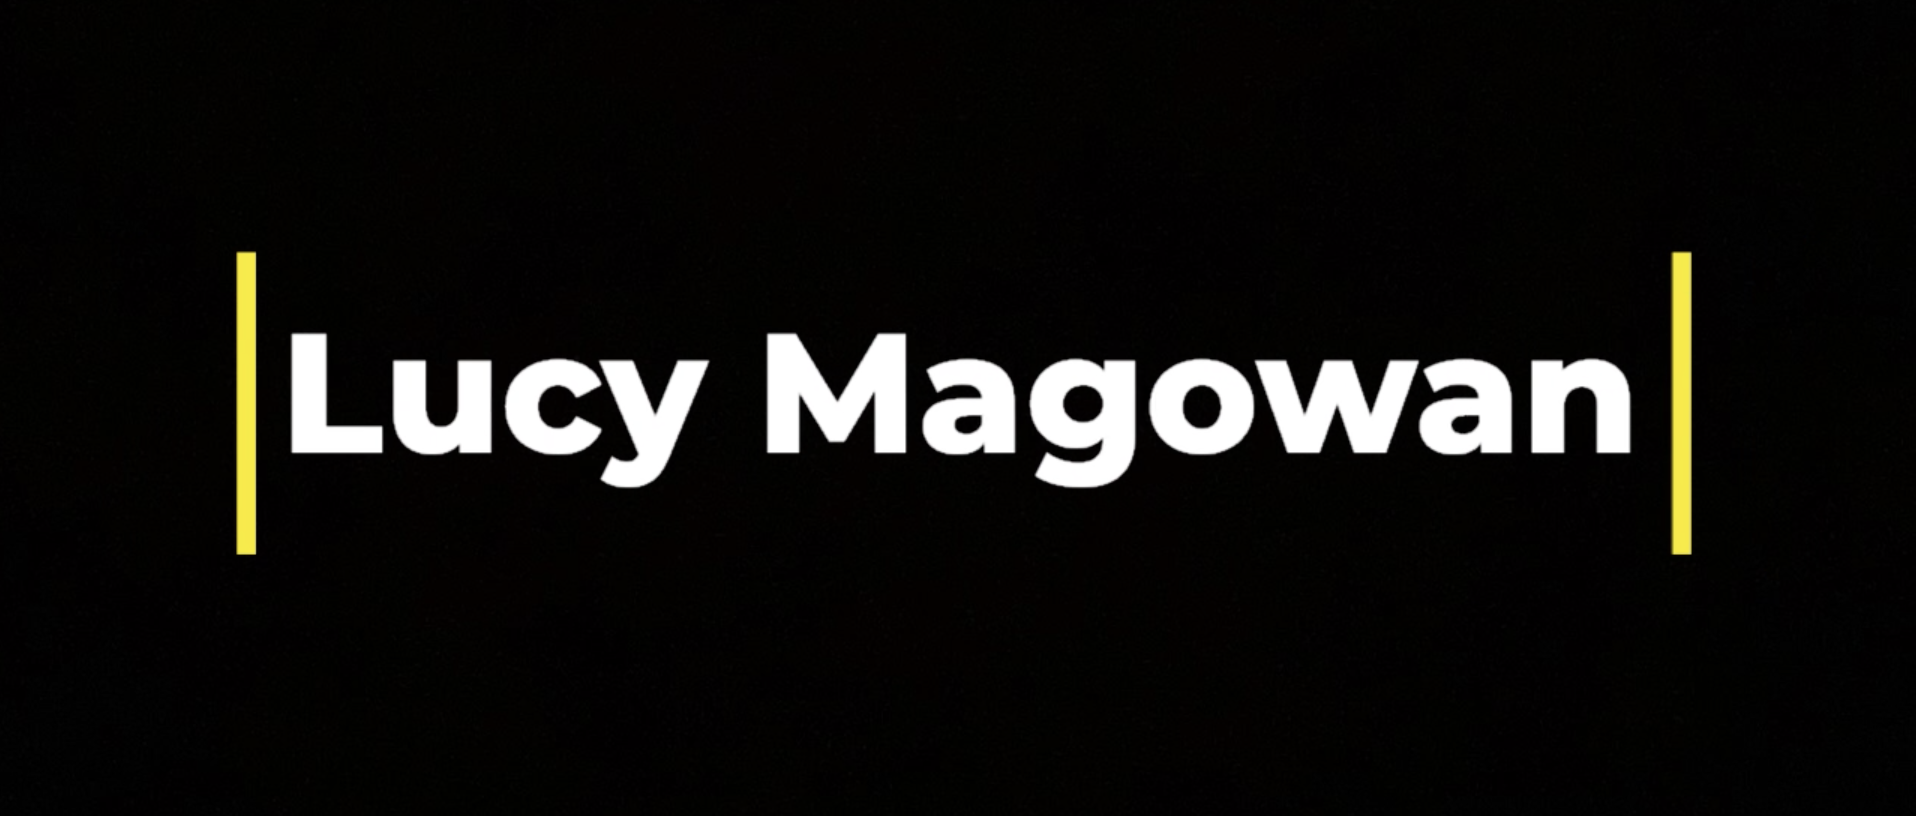
The initial screen had to include a title screen with my name on. I decided to keep this a plain block colour (black) and use an imported text animation to create an aesthetically pleasing text transition. I further included some royalty free audio music to allow for a full sensory experience while watching my introduction. This is a very basic beat that doesn’t tear the user’s attention away from the onscreen graphic. After the introduction was completed, we further had to include a graphical ident. This again is transitional materials that emphasises who the creator is. I wanted to keep this simple and link back towards the ‘vlog’ like feel of the video. I imported a play button animation from Premiere’s library allowing the user to clearly see that this will be an introduction video. Again, I continued the music throughout so the transition was smooth and doesn’t lose the readers interest.

The next stage was to include the selfie camera material introducing myself to the viewers. I set up my webcam in a professional area with no background clutter so that I was the sole attention of the shot. I wanted this clip to be short so I can speak more in the second selfie camera clip. The footage summed up who I am and what course I am studying and where this is. The aim of this project was to experiment with Premiere so I chose to add an overlay on top of the video recorded to display a camera feature that allows the viewer to think this is live footage. This effect adds to the vlog like feel that I am aiming to achieve throughout. I also raised the video volume as I found that my voice was very quiet compared to the previous audio music used.
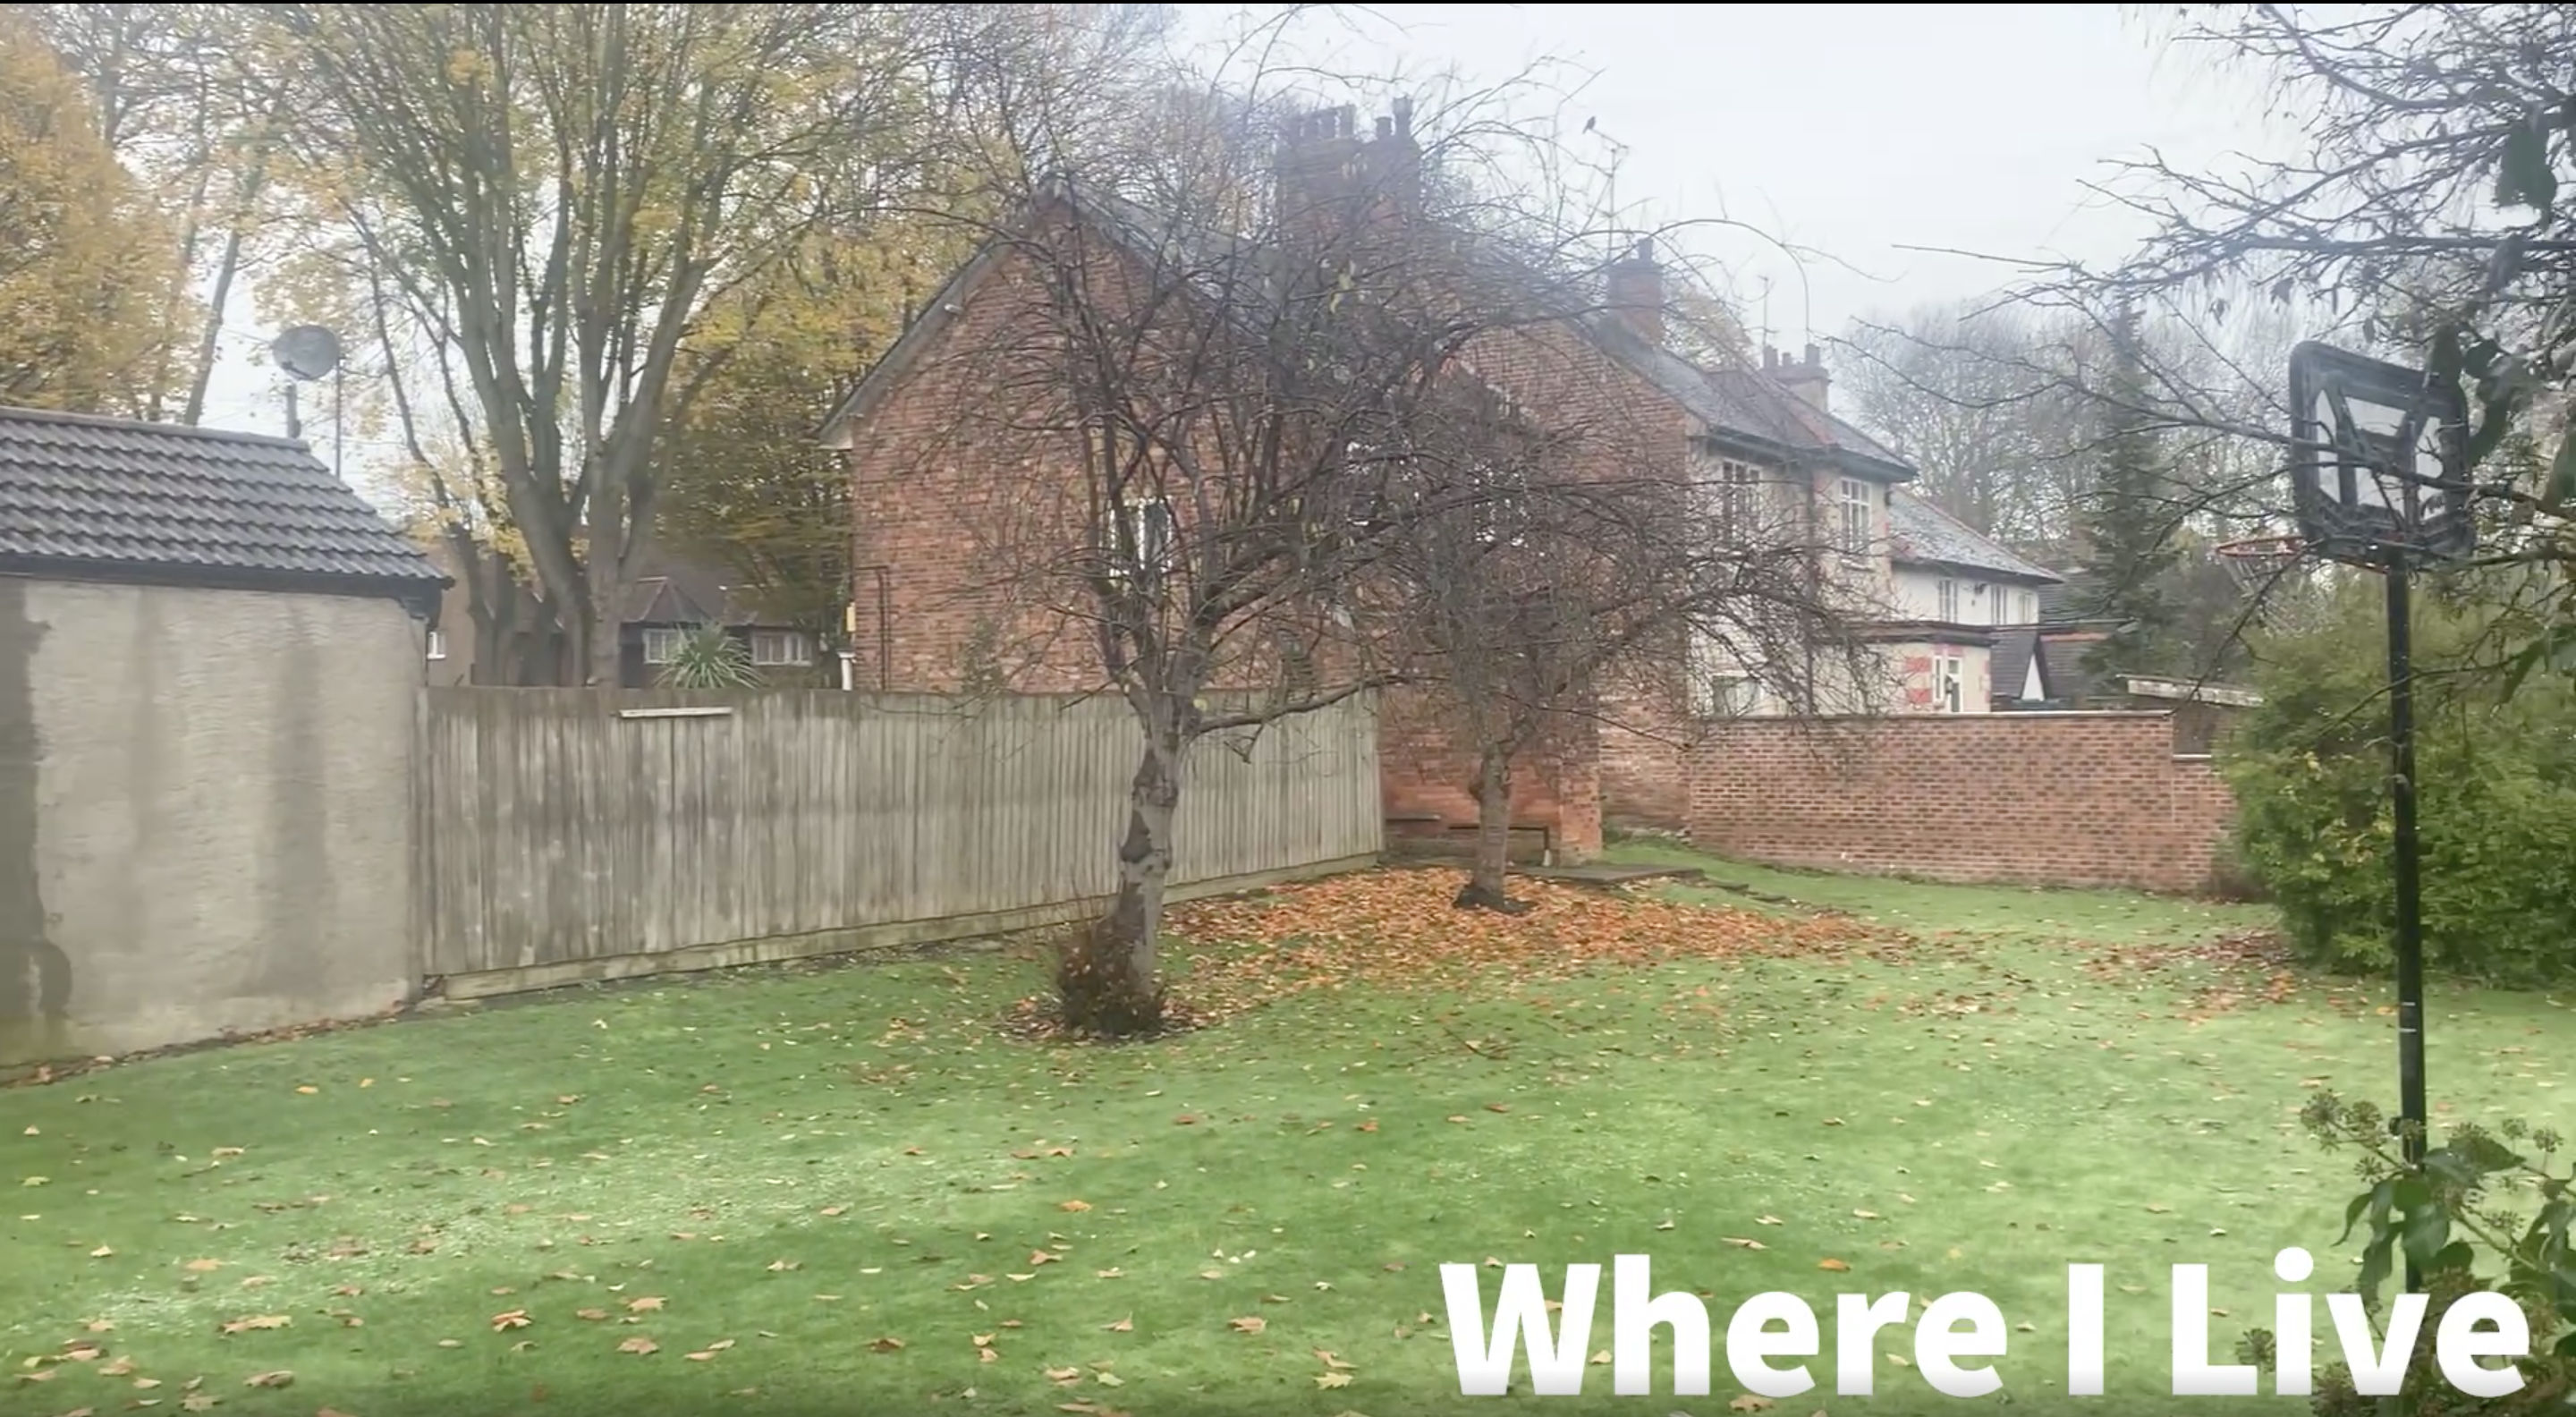
The following scene correlates to step 4 which allows location footage to display my environment avoiding a shot of my room. I live in student accommodation which can get very messy and unprofessional which influenced my choice to film the back garden of my house instead. This is the only part of the video which doesn’t have any loud, overpowering audio elements because the audience can focus their attention towards the content on the screen. In the bottom right of the screen, I imported some text graphics so that it is clear what is being captured. This is the shortest recording that I personally filmed.
The final section of recorded selfie camera footage included additional information on my introduction using the same overlays as before to maintain brand consistency. This reminds the audience of what they are here for. I mainly spoke about my university course and what software I enjoy the most but also where I live in general. This again focuses the audience back to the reason they are watching the content. The scene’s audio is louder again than the previous as there needs to be the voiceover when the subject is speaking.
The final scene concludes the video with credits and an end screen. This needed to be a simple graphic with audio making the audience wanting to come back for more. I used one of the preset graphics that Adobe Premiere Pro allowed me to import from their library and this used simple animation exploring a thank you message. Alongside, I used some more royalty free music, this time it being smoother and quieter to leave the viewer on a calming note.

This exercise allowed us as a user to explore all of Adobe Premiere Pro’s designing and editing settings whilst preparing ourselves for video production. Even though the content was very simple, the creative freedom meant we could include as many exciting features as we wanted to as the creator. I enjoyed using the text graphics to allow for my composition to have context and now feel very confident using the settings this software provides.