
Environment Initial Development
There are two approaches that could be taken when thinking of the environment that an escape pod could be in. It could either be landed in a space scene surrounding by the atmosphere and planet-like shapes, or it could be somewhere deserted like it’s had to be used to escape a situation in a derelict location. To make the pod blend in to its surroundings, I have chosen to go with the space-like environment to encapsulate it. This will consist of a moon textured surface to sit on, a dark starry sky, with movement happening from certain elements.
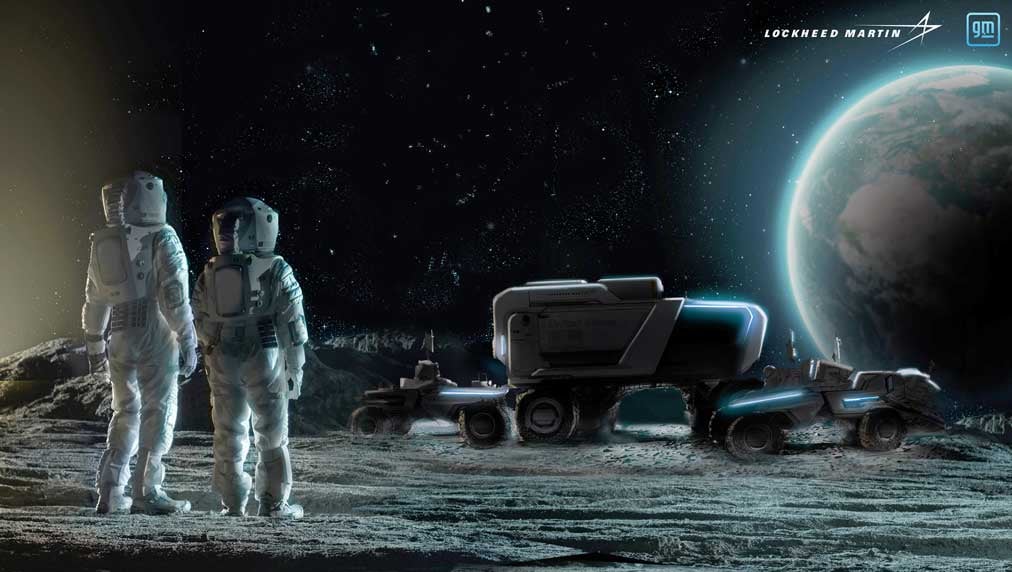
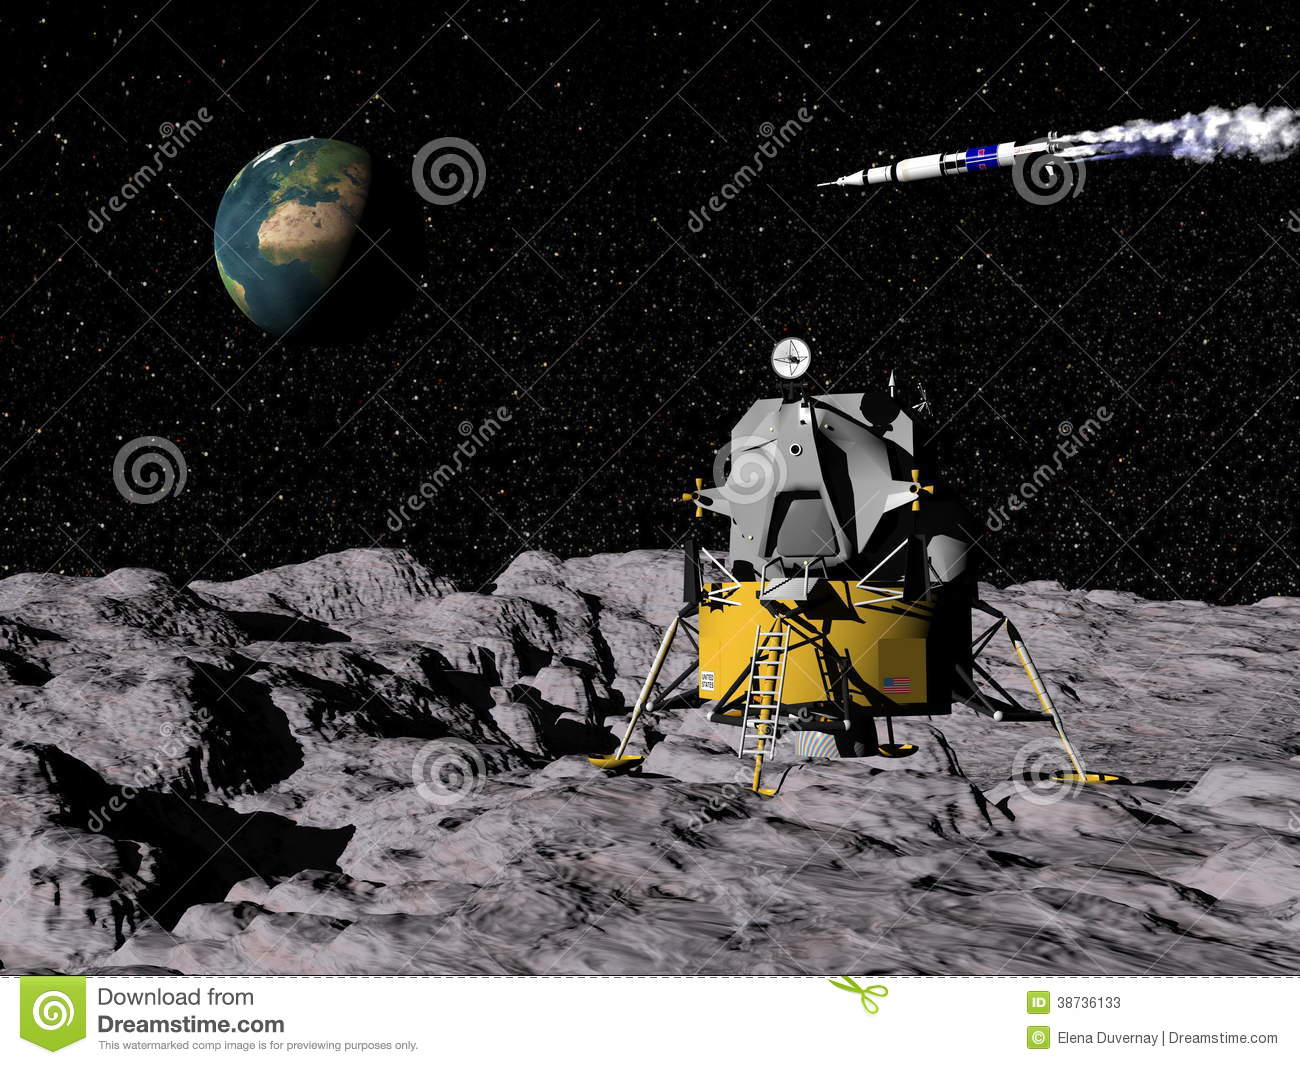
Looking at some examples of these scenes, I could decipher what elements worked and which would be more difficult to create. I found two 3D rendered images that has areas to inspire me to create my own environment revolving around space. The first one focuses on the planetary background and a close-up of astronauts looking onwards. This would allow me to produce a realistic version of a planet to have in the background of the sky. This can also foreshadow some lighting of my end scene such as the glow around the planet in the background. The second image is closer to a 3D render and displays a detailed texture of the moons surface. I liked this image as it gave me an insight into how I will go about creating the floored area.
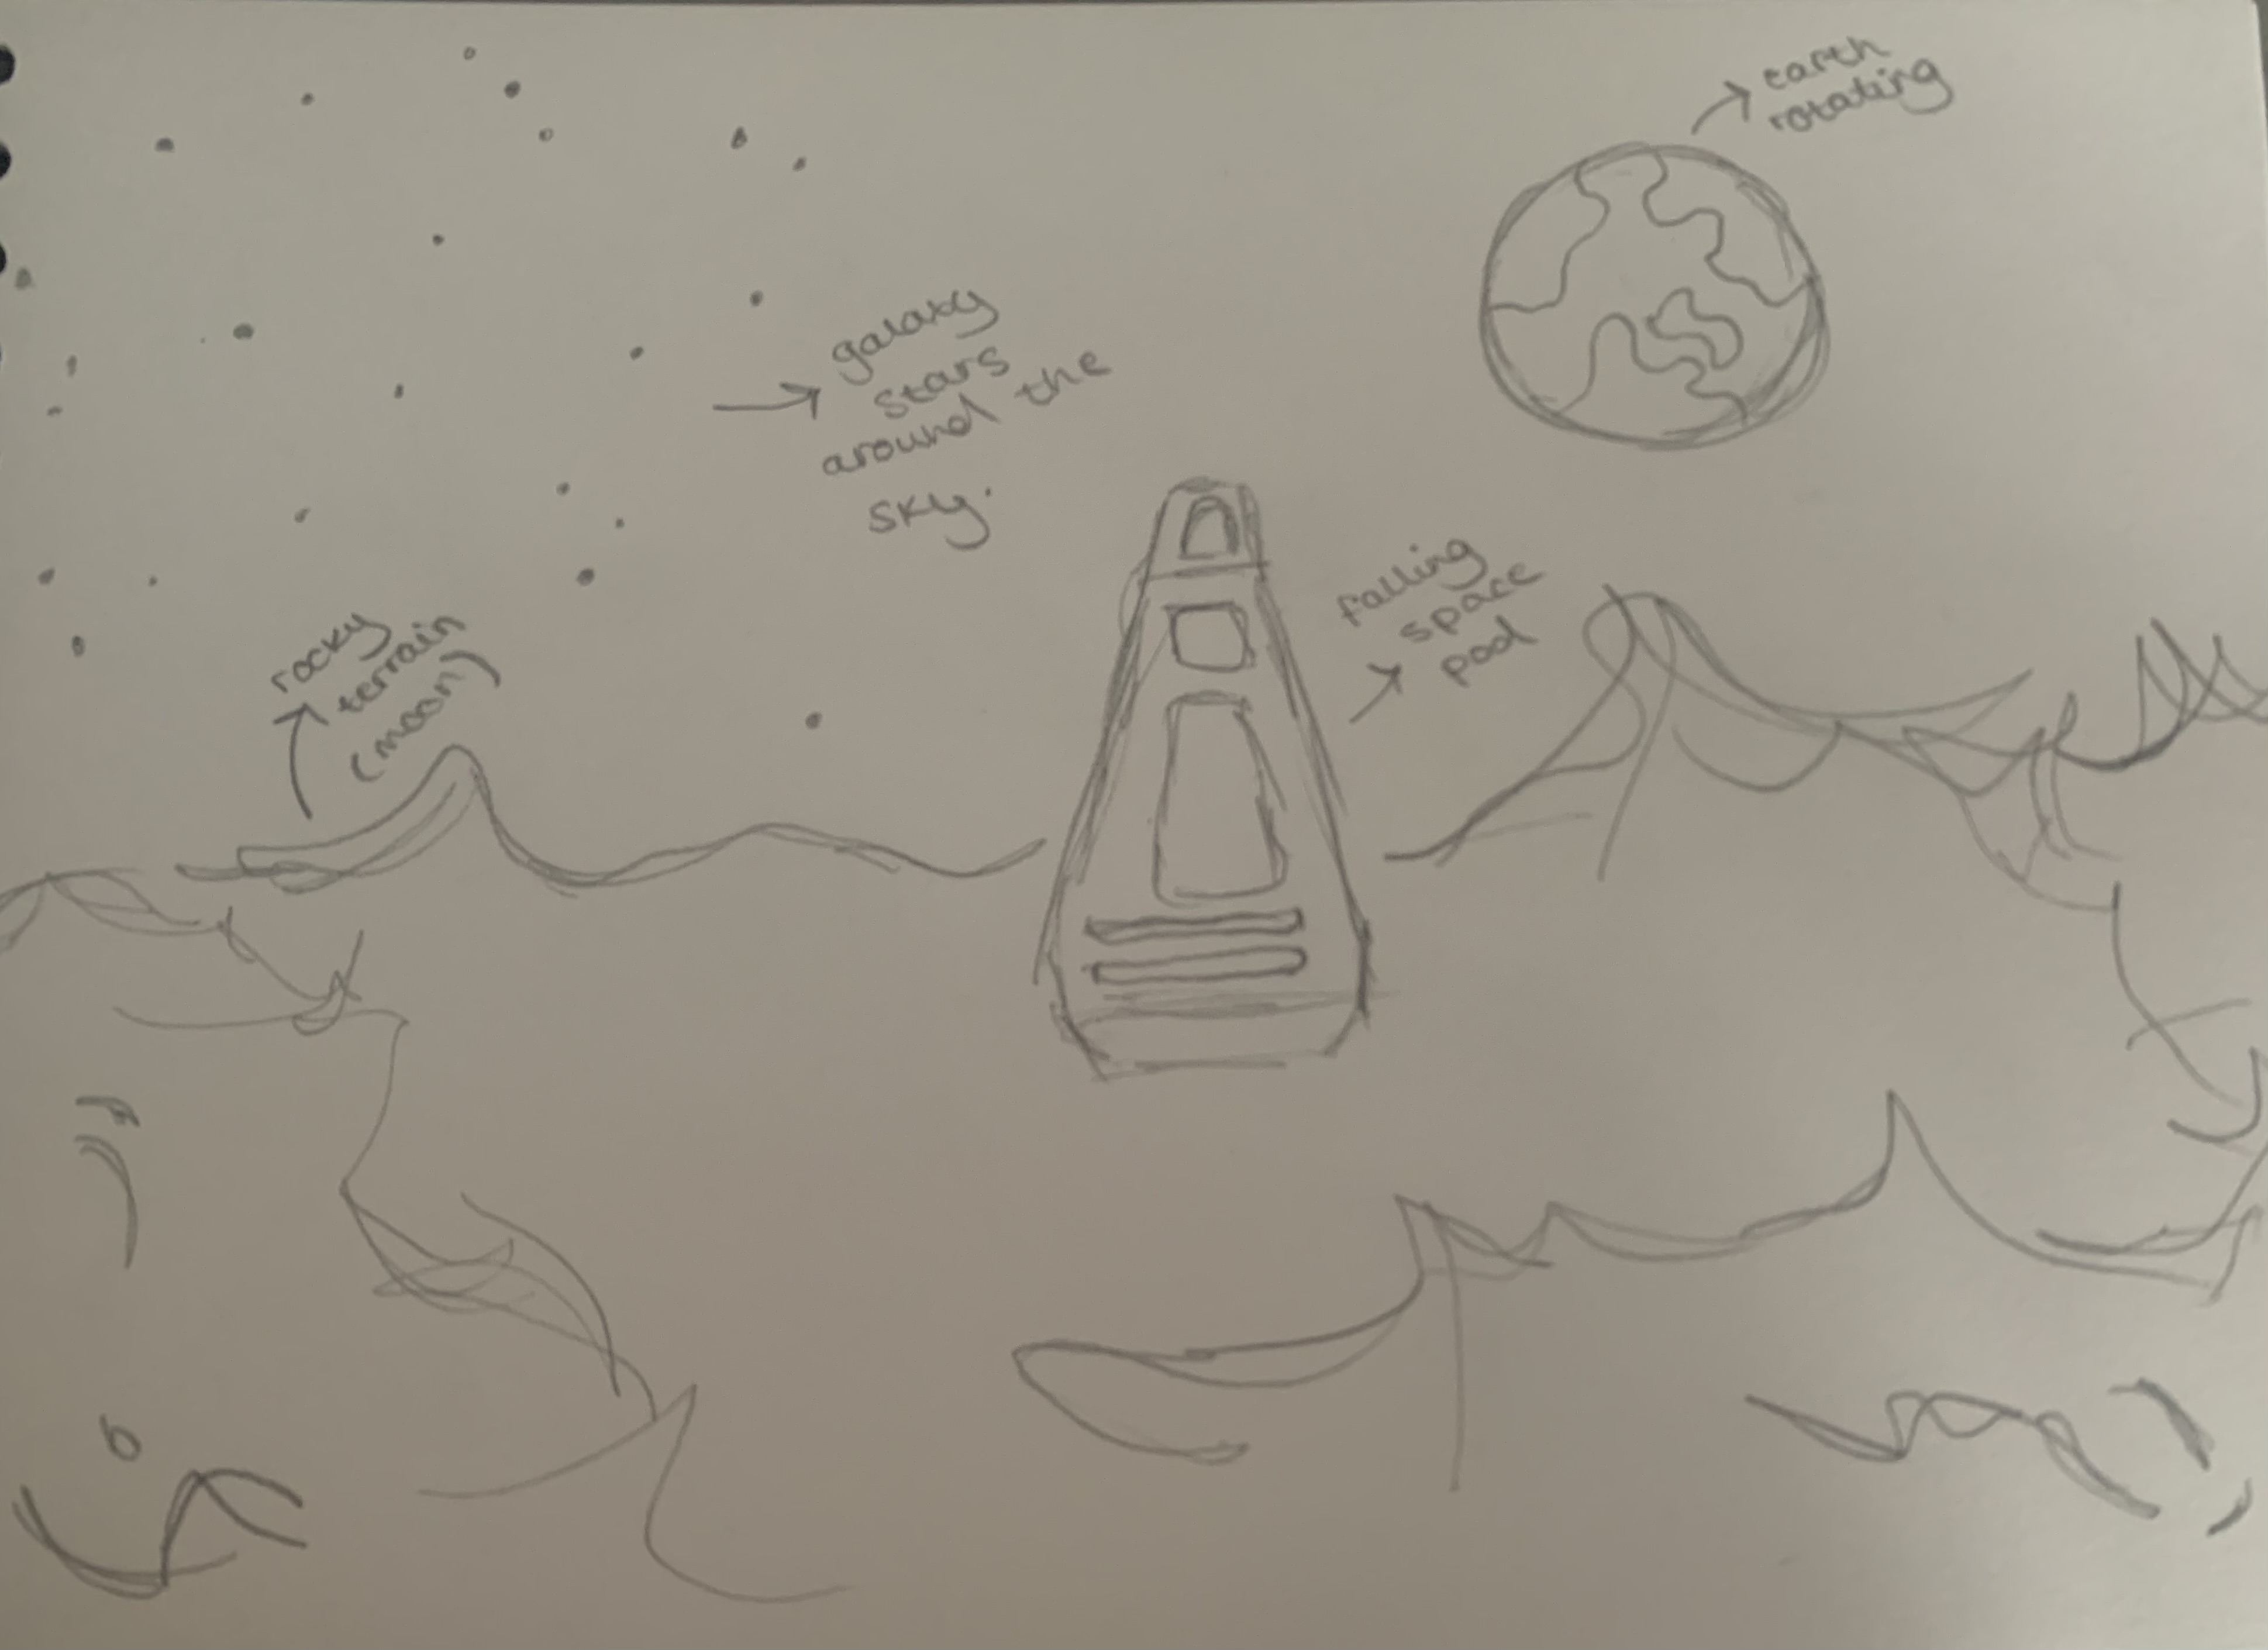
I then went on to initially design how I want my environment to look in Maya so that I would have a 2-Dimensional plan before starting on software. It was clear that there had to be a mountainous floor to represent a moon-like landing. This was also going to stay grey to foreshadow this. The sky will be kept pretty simple too, with a dark blue colour and some stars illuminating the background. The main focus of the background will be the Earth distanced in the background as this will emphasise to the viewer that the escape pod has been used and landed onto a different planet. This sketch is taken into Maya to use as a plan for the final environment design.
The first step when applying my design to Maya is creating the surface that the pod will stand on. As previously stated, I wanted this to be a rocky terrain to act like boulders of the moon’s surface. Using the polygon plane tool, I created a flat surface to edit and create this texture with. Moving on to the sculpt tool, I edited the texture and made this planet-like surface for my space based escape pod to sit. The final step was to colour the texture to that greyish colour I was attempting to achieve. This concluded the floor of my environment.
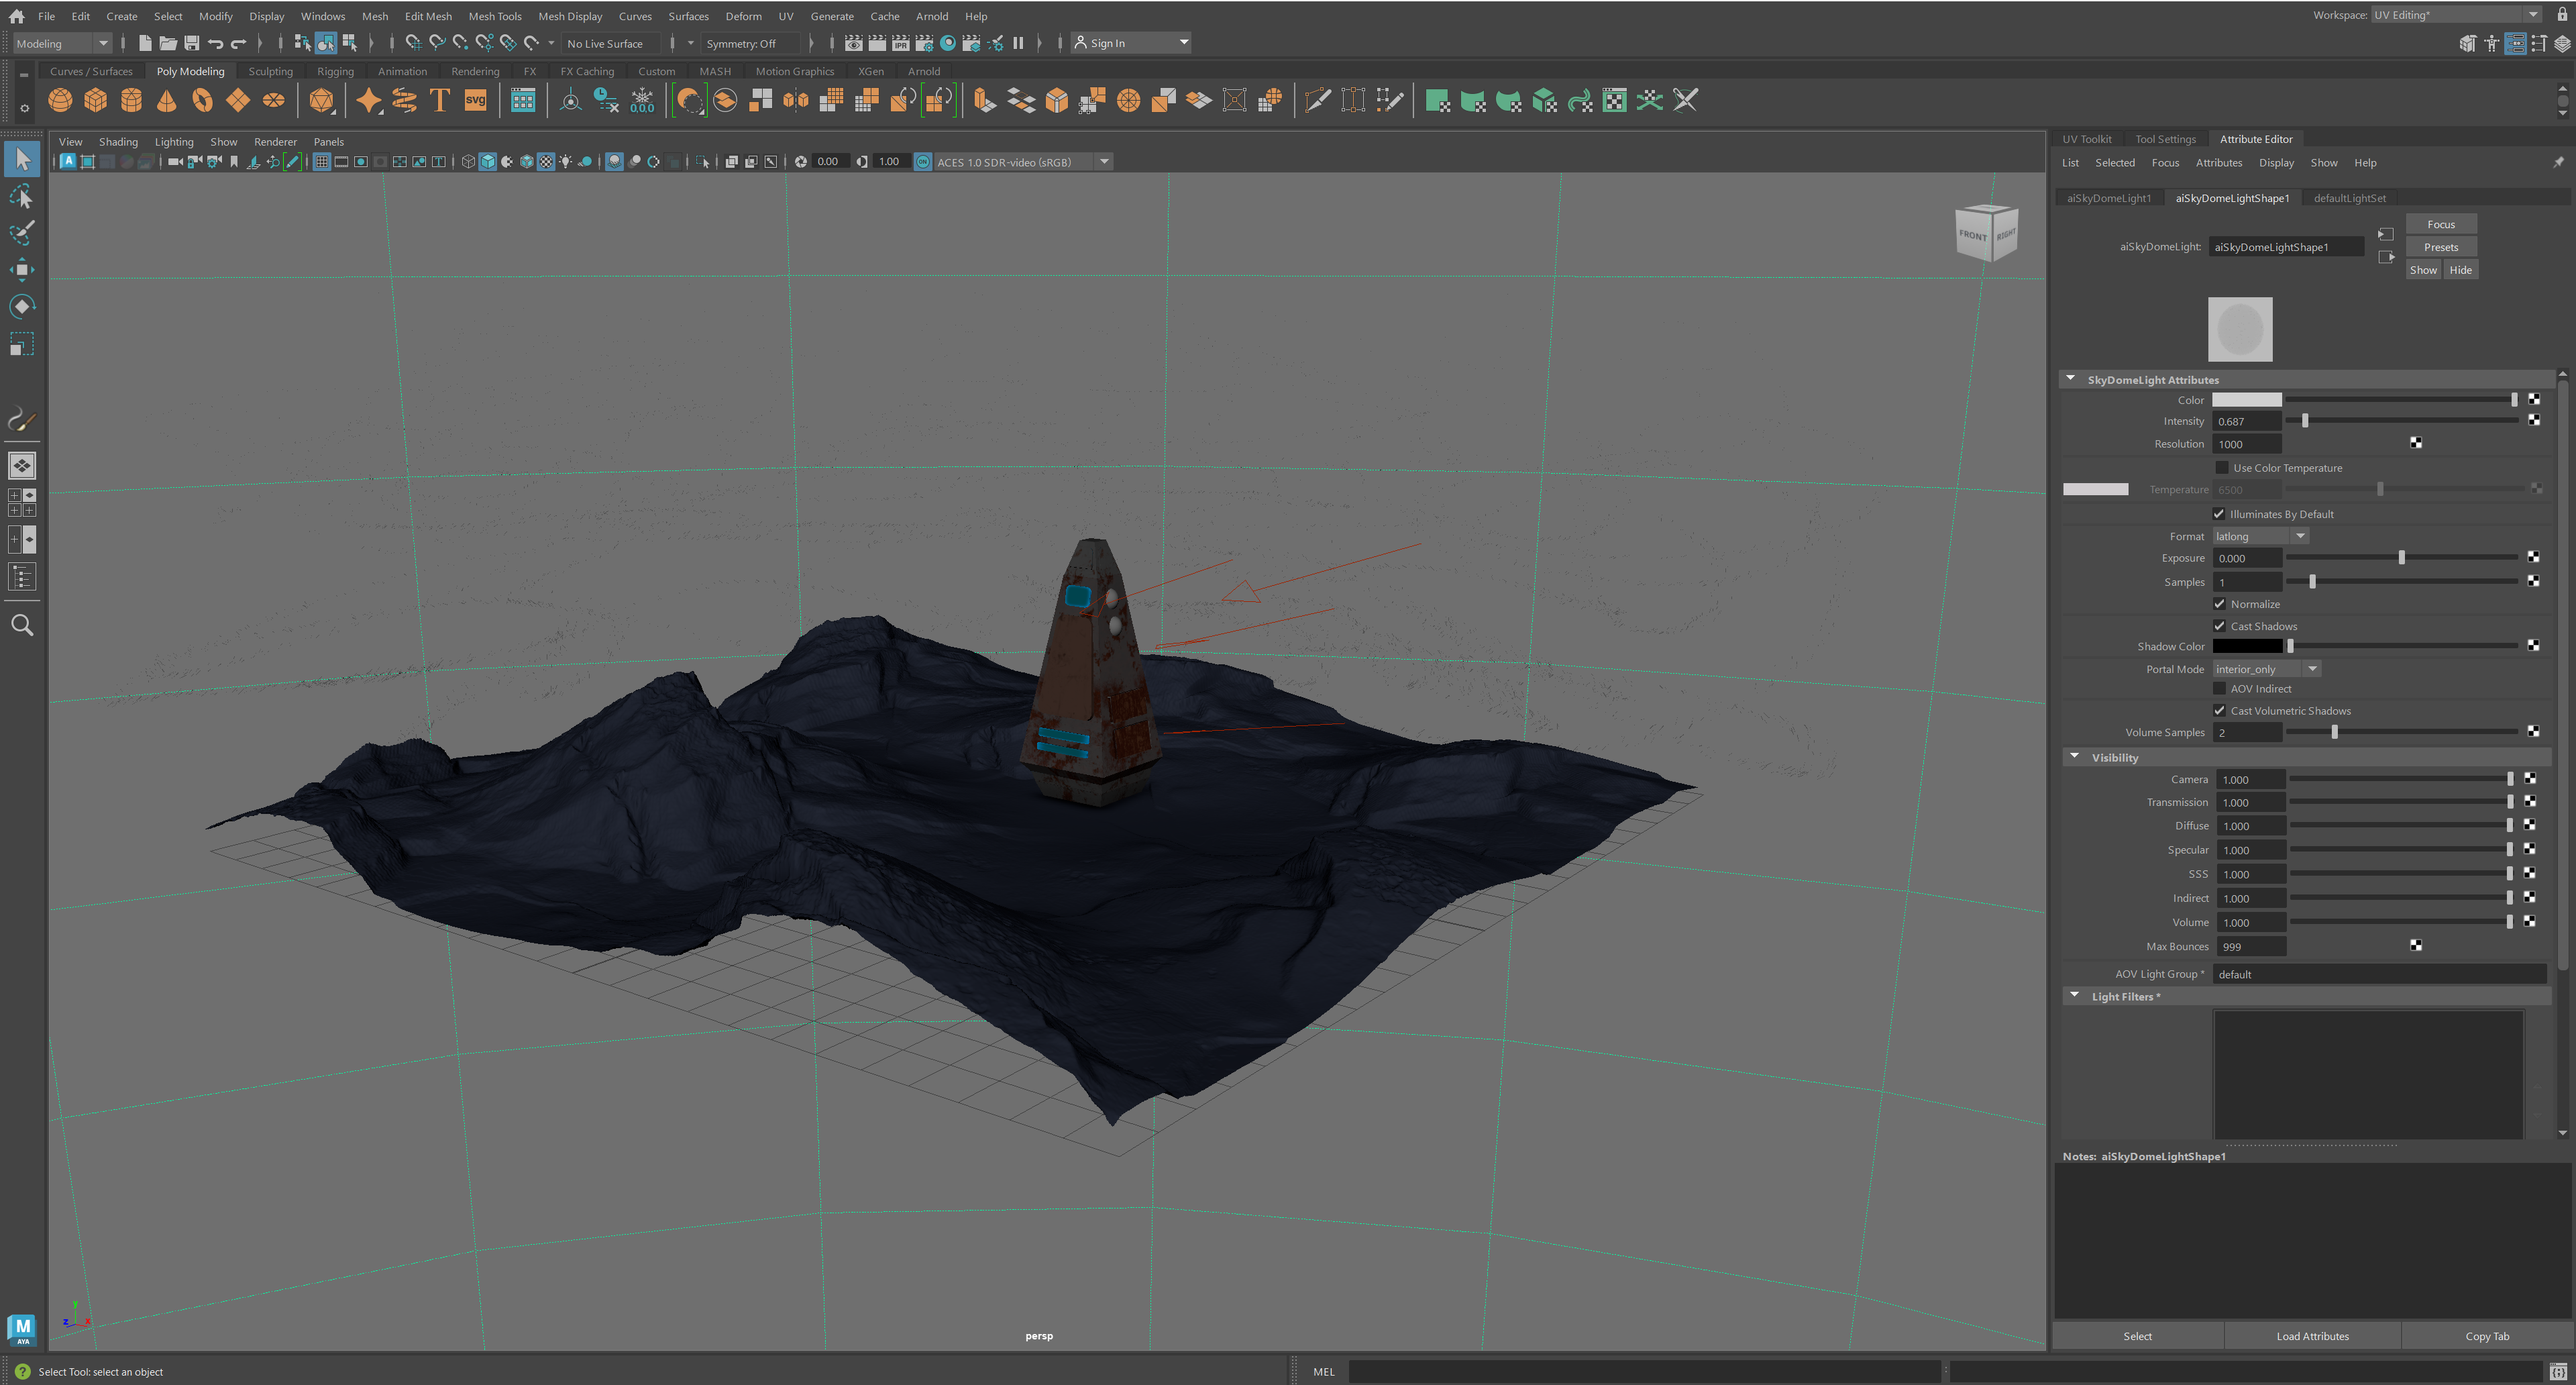
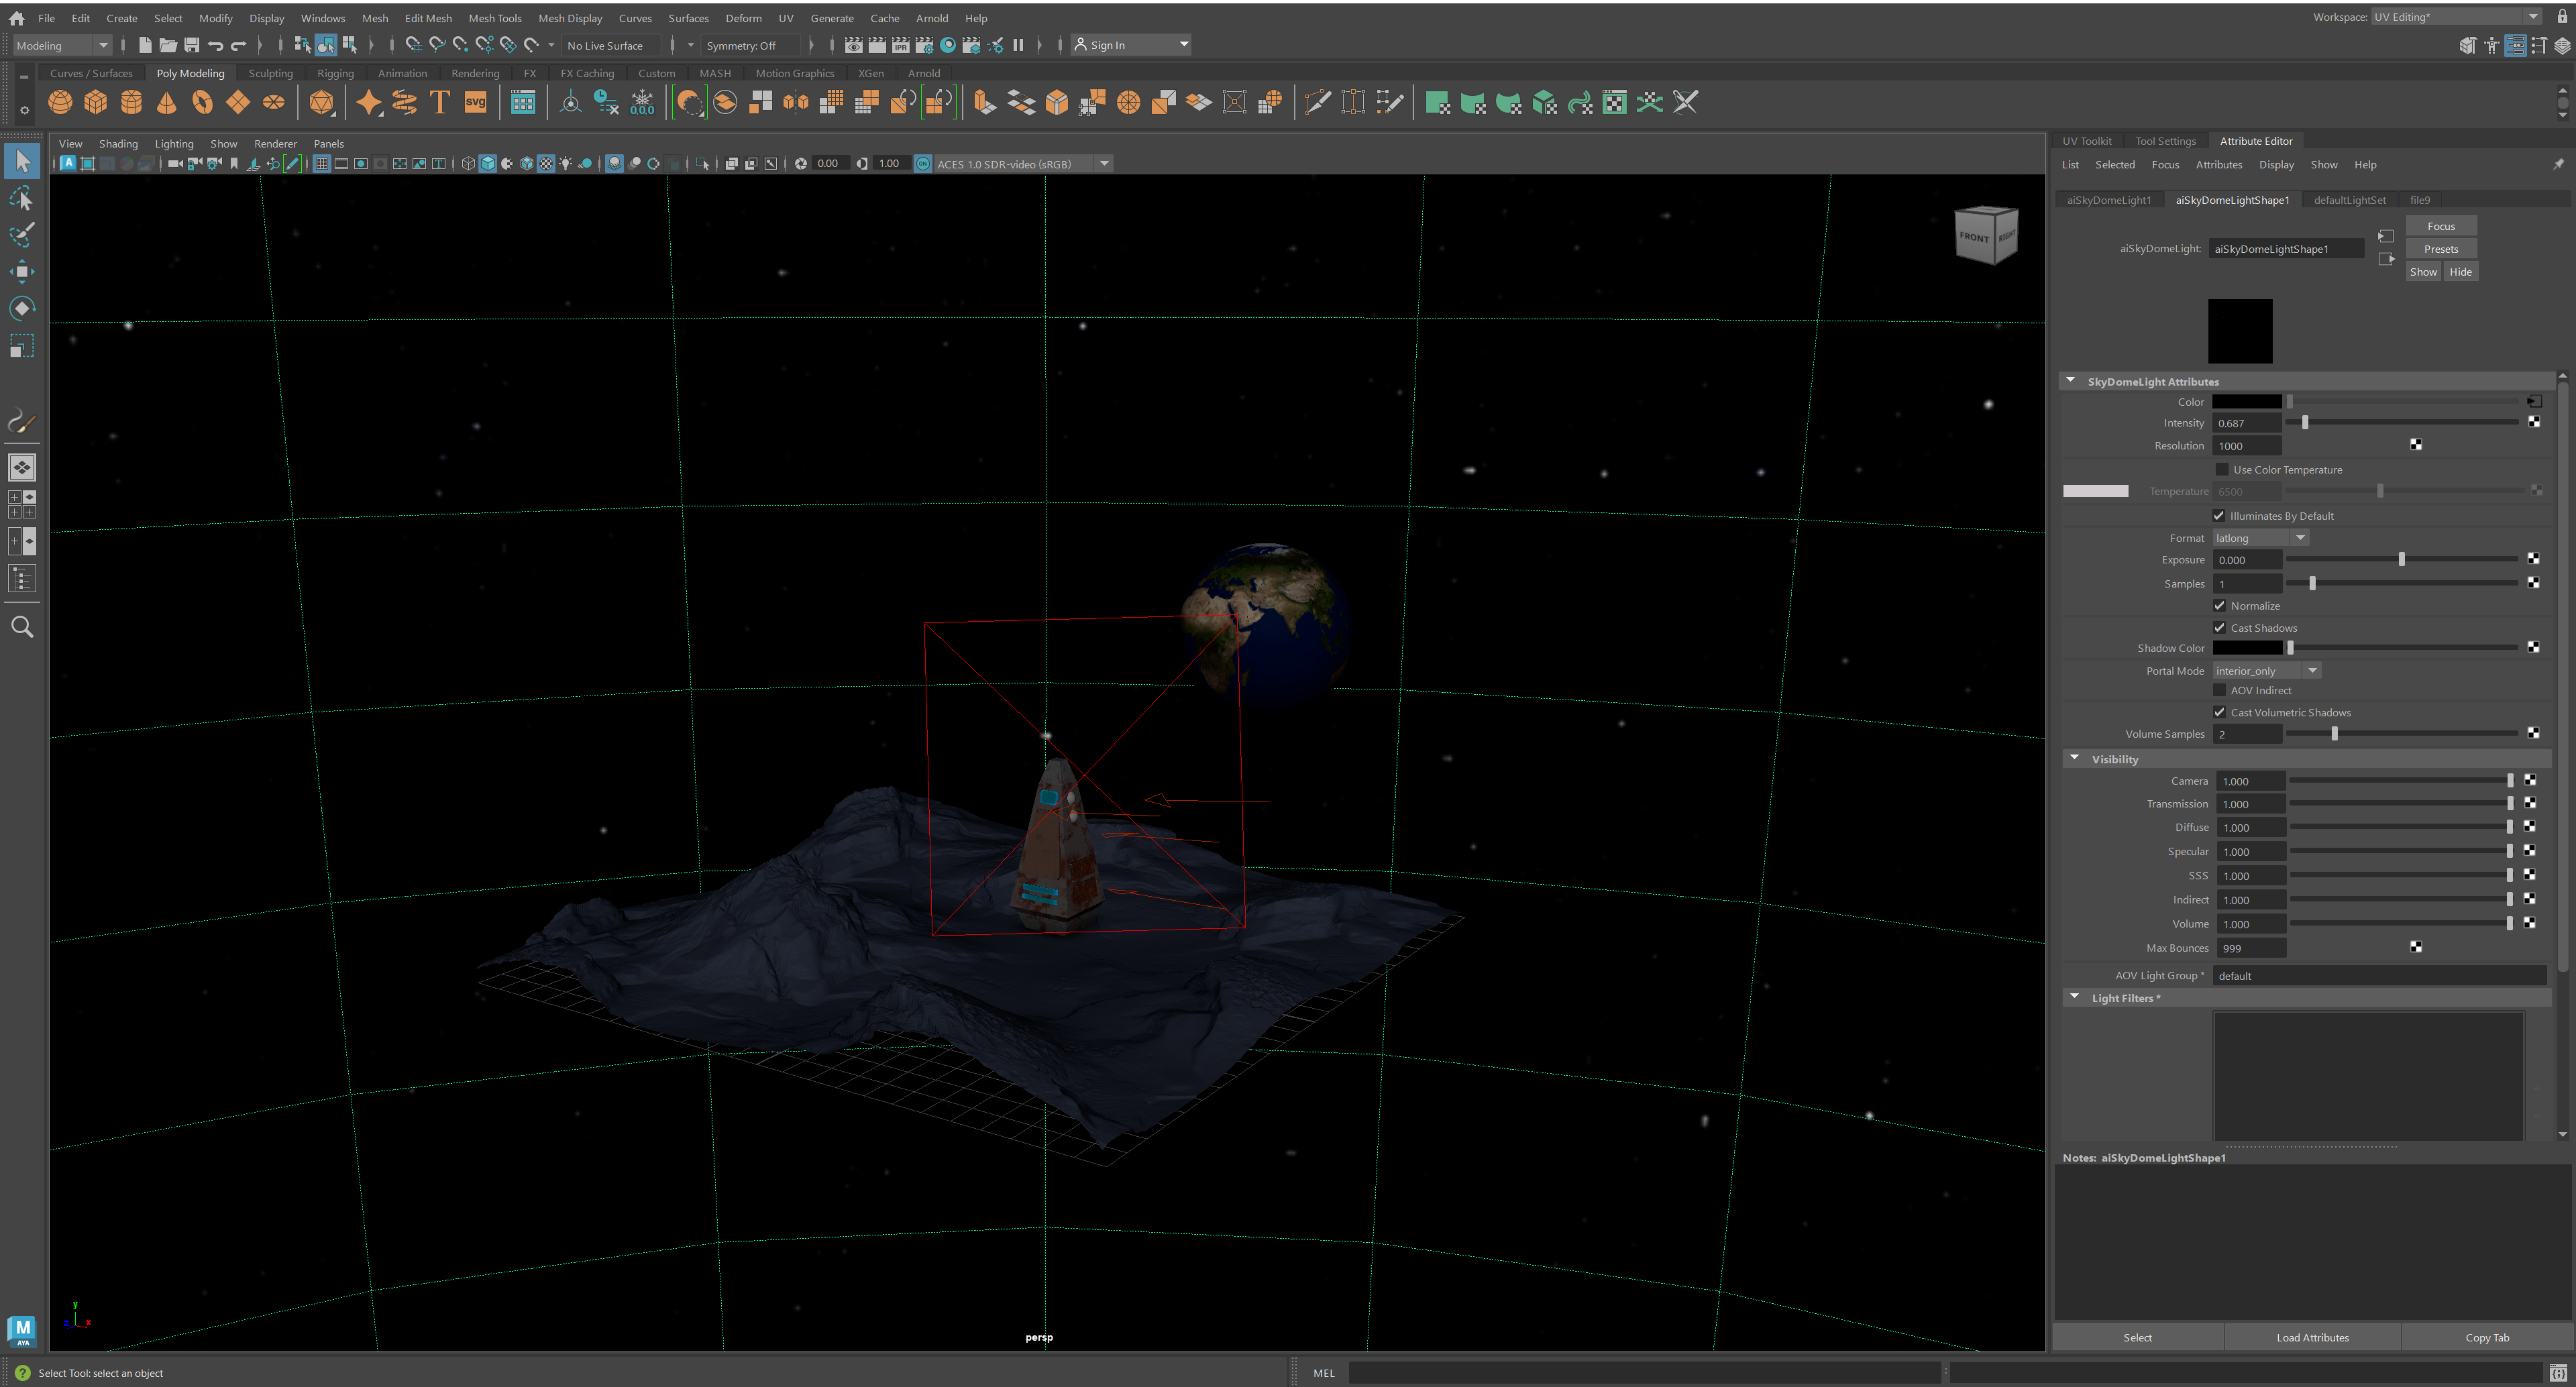
I then moved onto what will be seen in the sky. Starting with the Earth, I created a new 3D model consisting of a sphere and began to scale this to my liking. I made it small so that the perspective could show that it was far out in space. Using the Earth textures referenced below, I added each texture map to areas of my material and imported them onto my sphere. (solarsystemscope.com, 2019). Positioning this in the background of my scene, this finalised the creation of the planet. All that was left was to add in the dark sky and the stars. Using the sky-dome light, I altered the colour to suitably match what I felt linked to a space sky (dark blue). I added a further texture image map and this automatically spread itself around my Maya canvas. This concluded my final space scene environment.
Lighting the Model
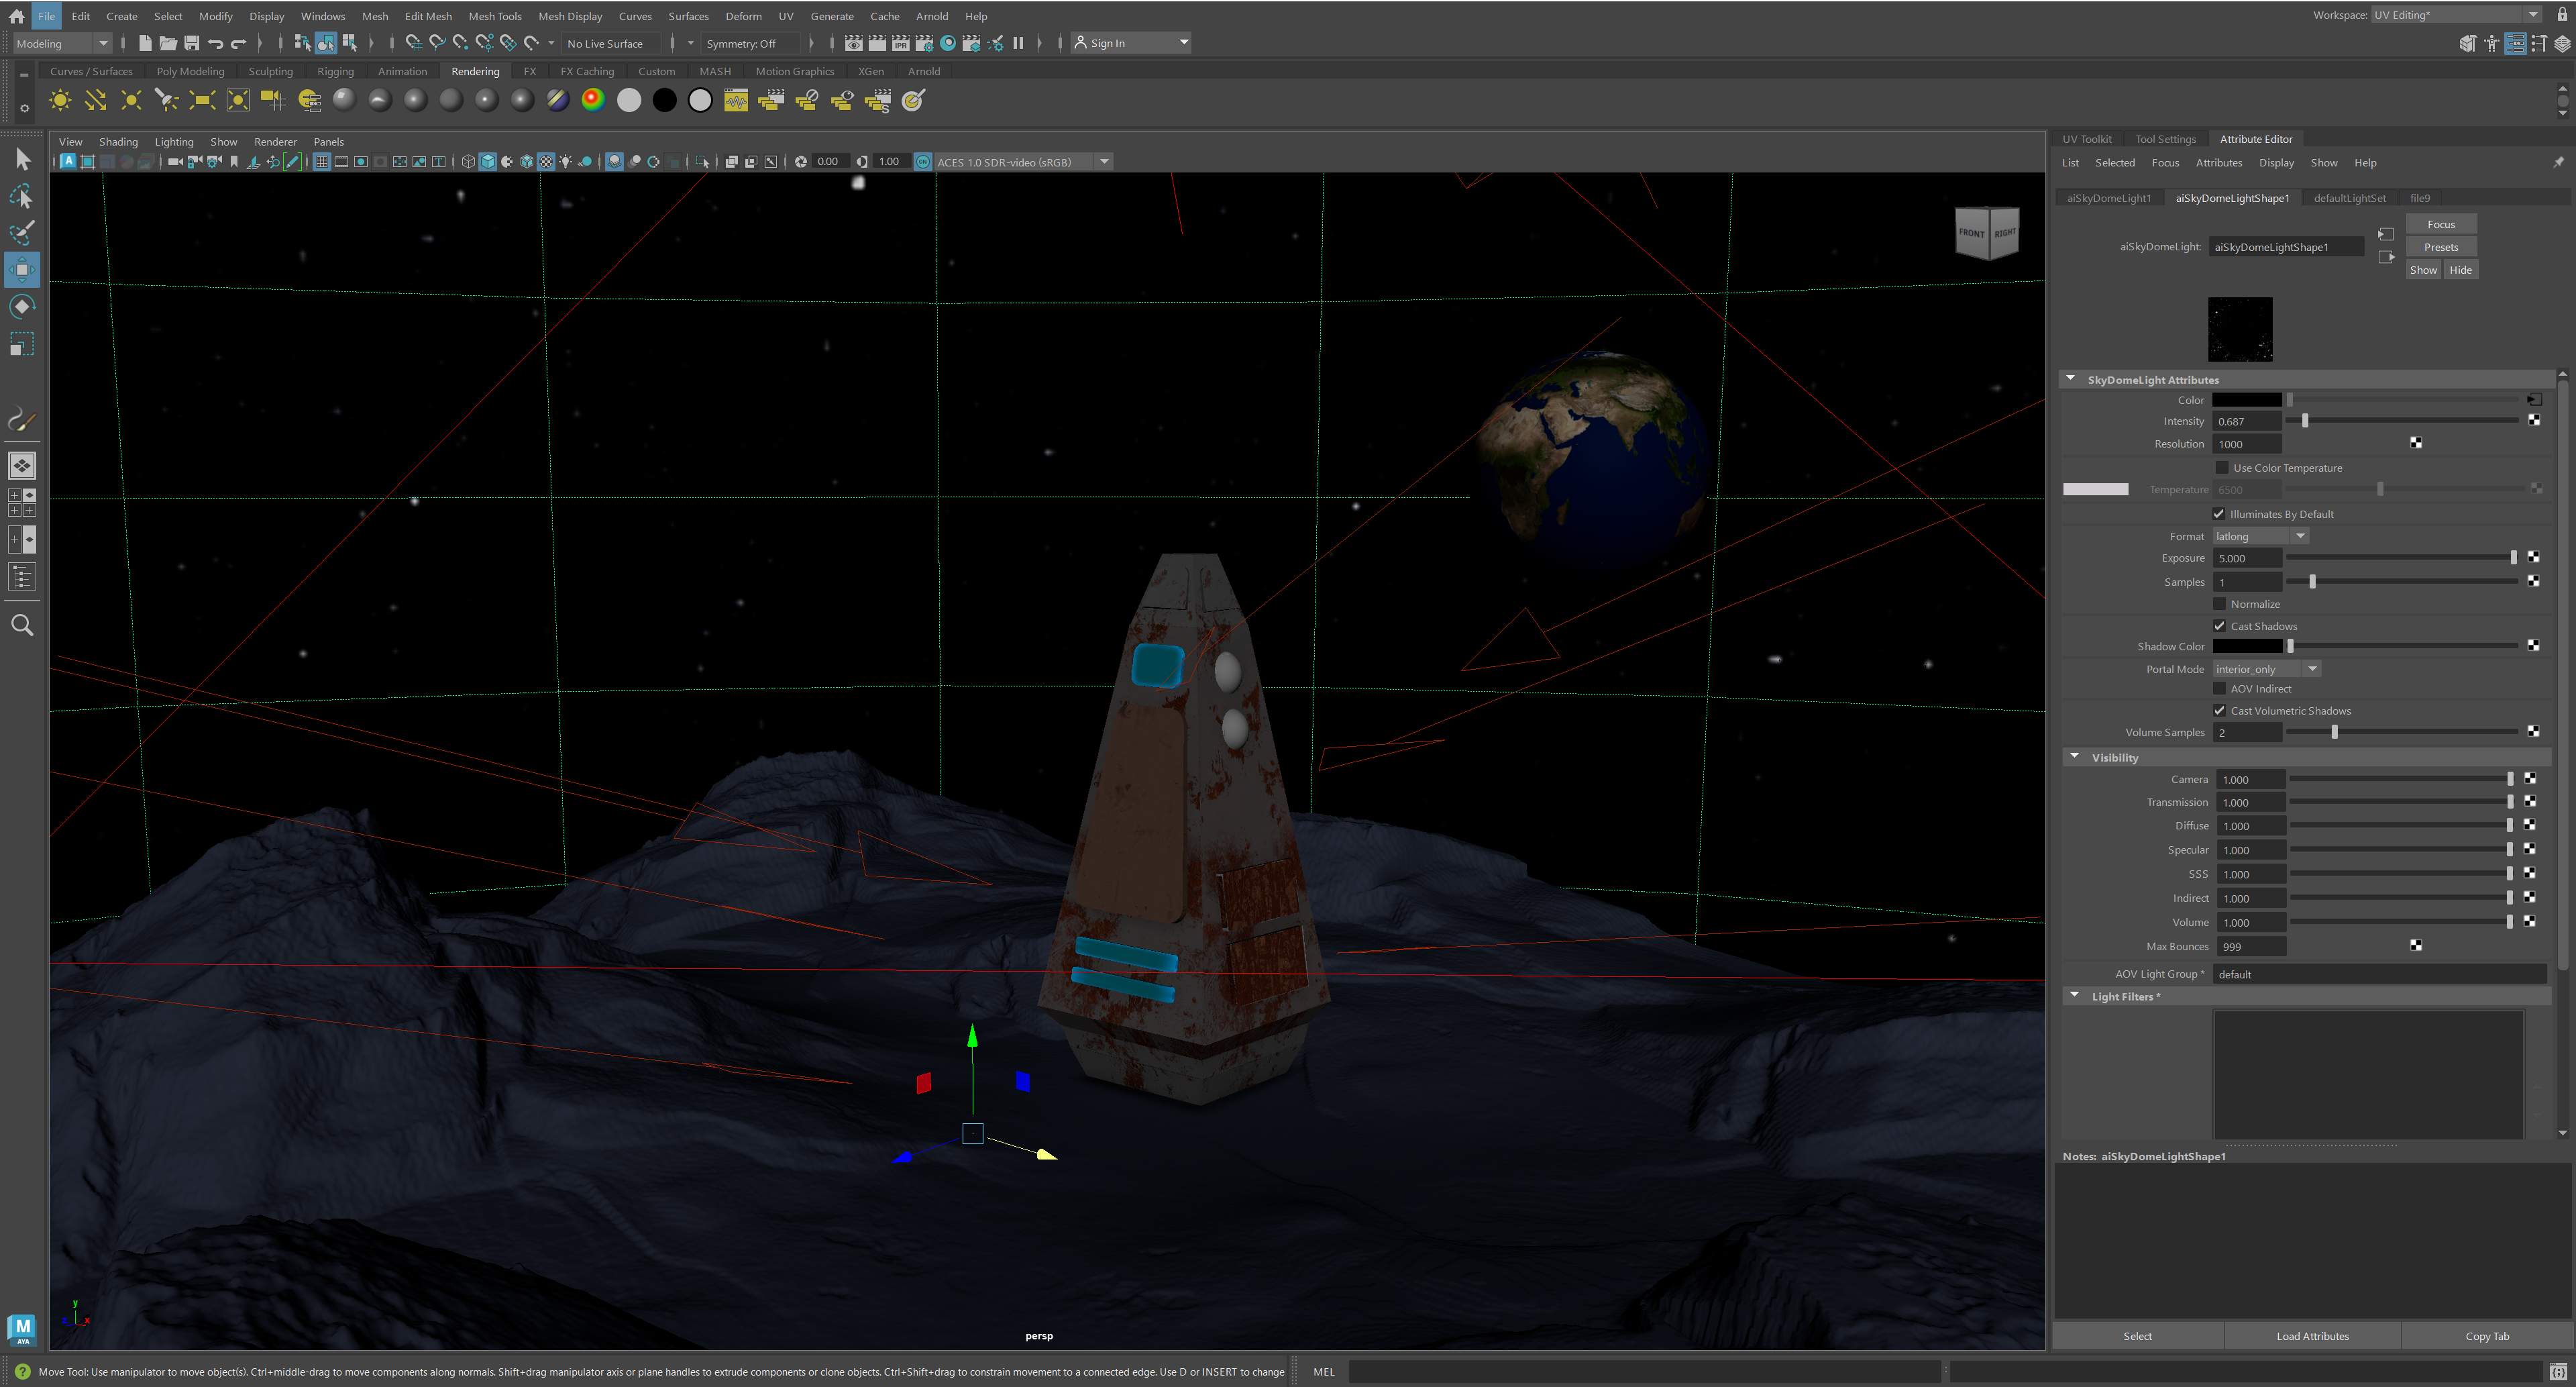
After my model was correctly set up in its environmental scene, it was time to add designed lighting for the appropriate areas. Due to the dark colours and textures, it was key to add enough lighting that every detail could be seen during the animation. I began using the area lighting to cover the large areas of the scene so that objects such as the Earth is visible from each angle. I used area lighting on the Earth surface and looking over the top of my space-based escape pod. I then moved onto direct lighting which consisted of lighting areas where I wanted the viewers attention to point towards. I added two different angles onto the front and side of the pod to allow for clear visibility. I also added a section of direct lighting above the pod so that the visibility is clear from all angles when animating.
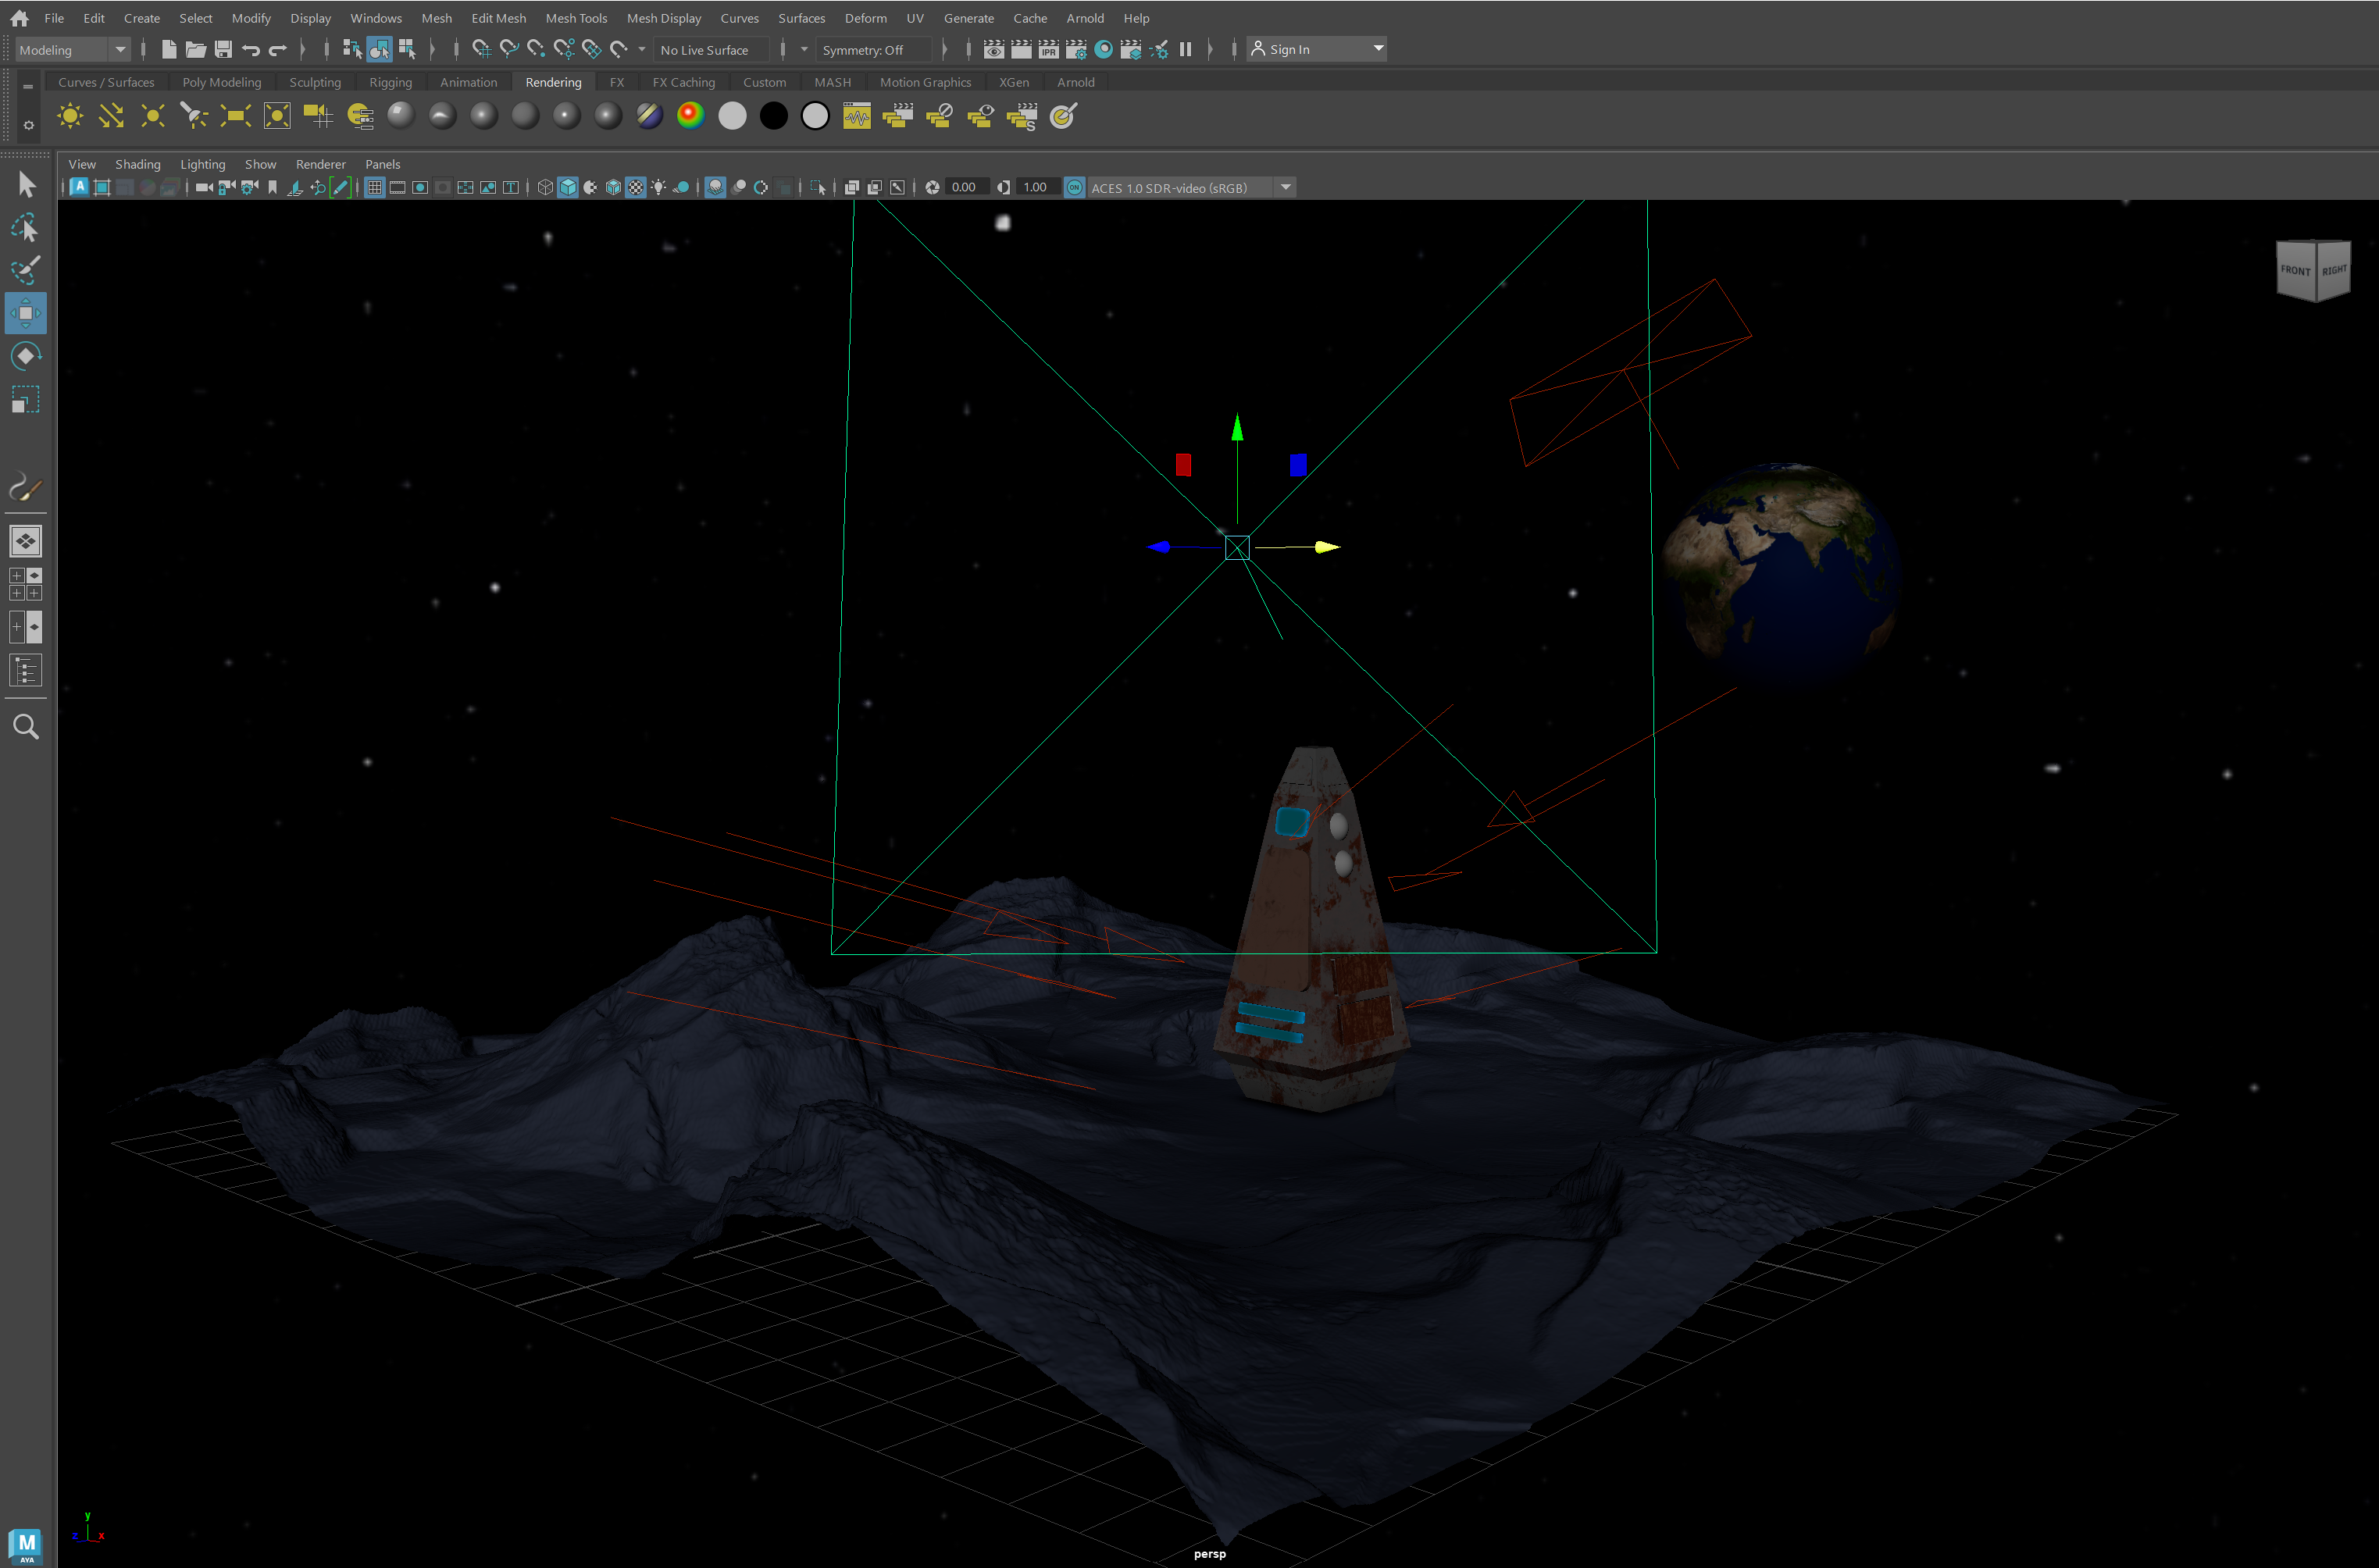
These two sets of lighting options where the most efficient for me as they allowed the right areas to be correctly lit rather than making it more complicated. I attempted to use the point light however this gave a very specific area light which is not what I wanted to achieve. This would have been better to use if there were smaller models in the scene. After experimenting, it was clear what two lighting choices would be the best for this particular scene.
Animation Development and Storyboard
After the final modelling was all done, it was time to beginning planning and creating the animation sequence. In the first frame, I wanted to have the environment set up and the pod out of sight so I could animate it falling towards the surface. The next frame displays this falling motion which I note I want the escape pod to sway side to side, emphasising this effect to the viewer. All while this is happening, the globe is slowly rotating on it’s axis and the stars are also moving around. The third keyframe is when the pod is nearly to the ground and slowly stabilising itself in the air. I want to end my animation with my space based pod flat on the textured surface and the environment coming to a halt. Each movement is key to get the message across to the audience about this falling motion.
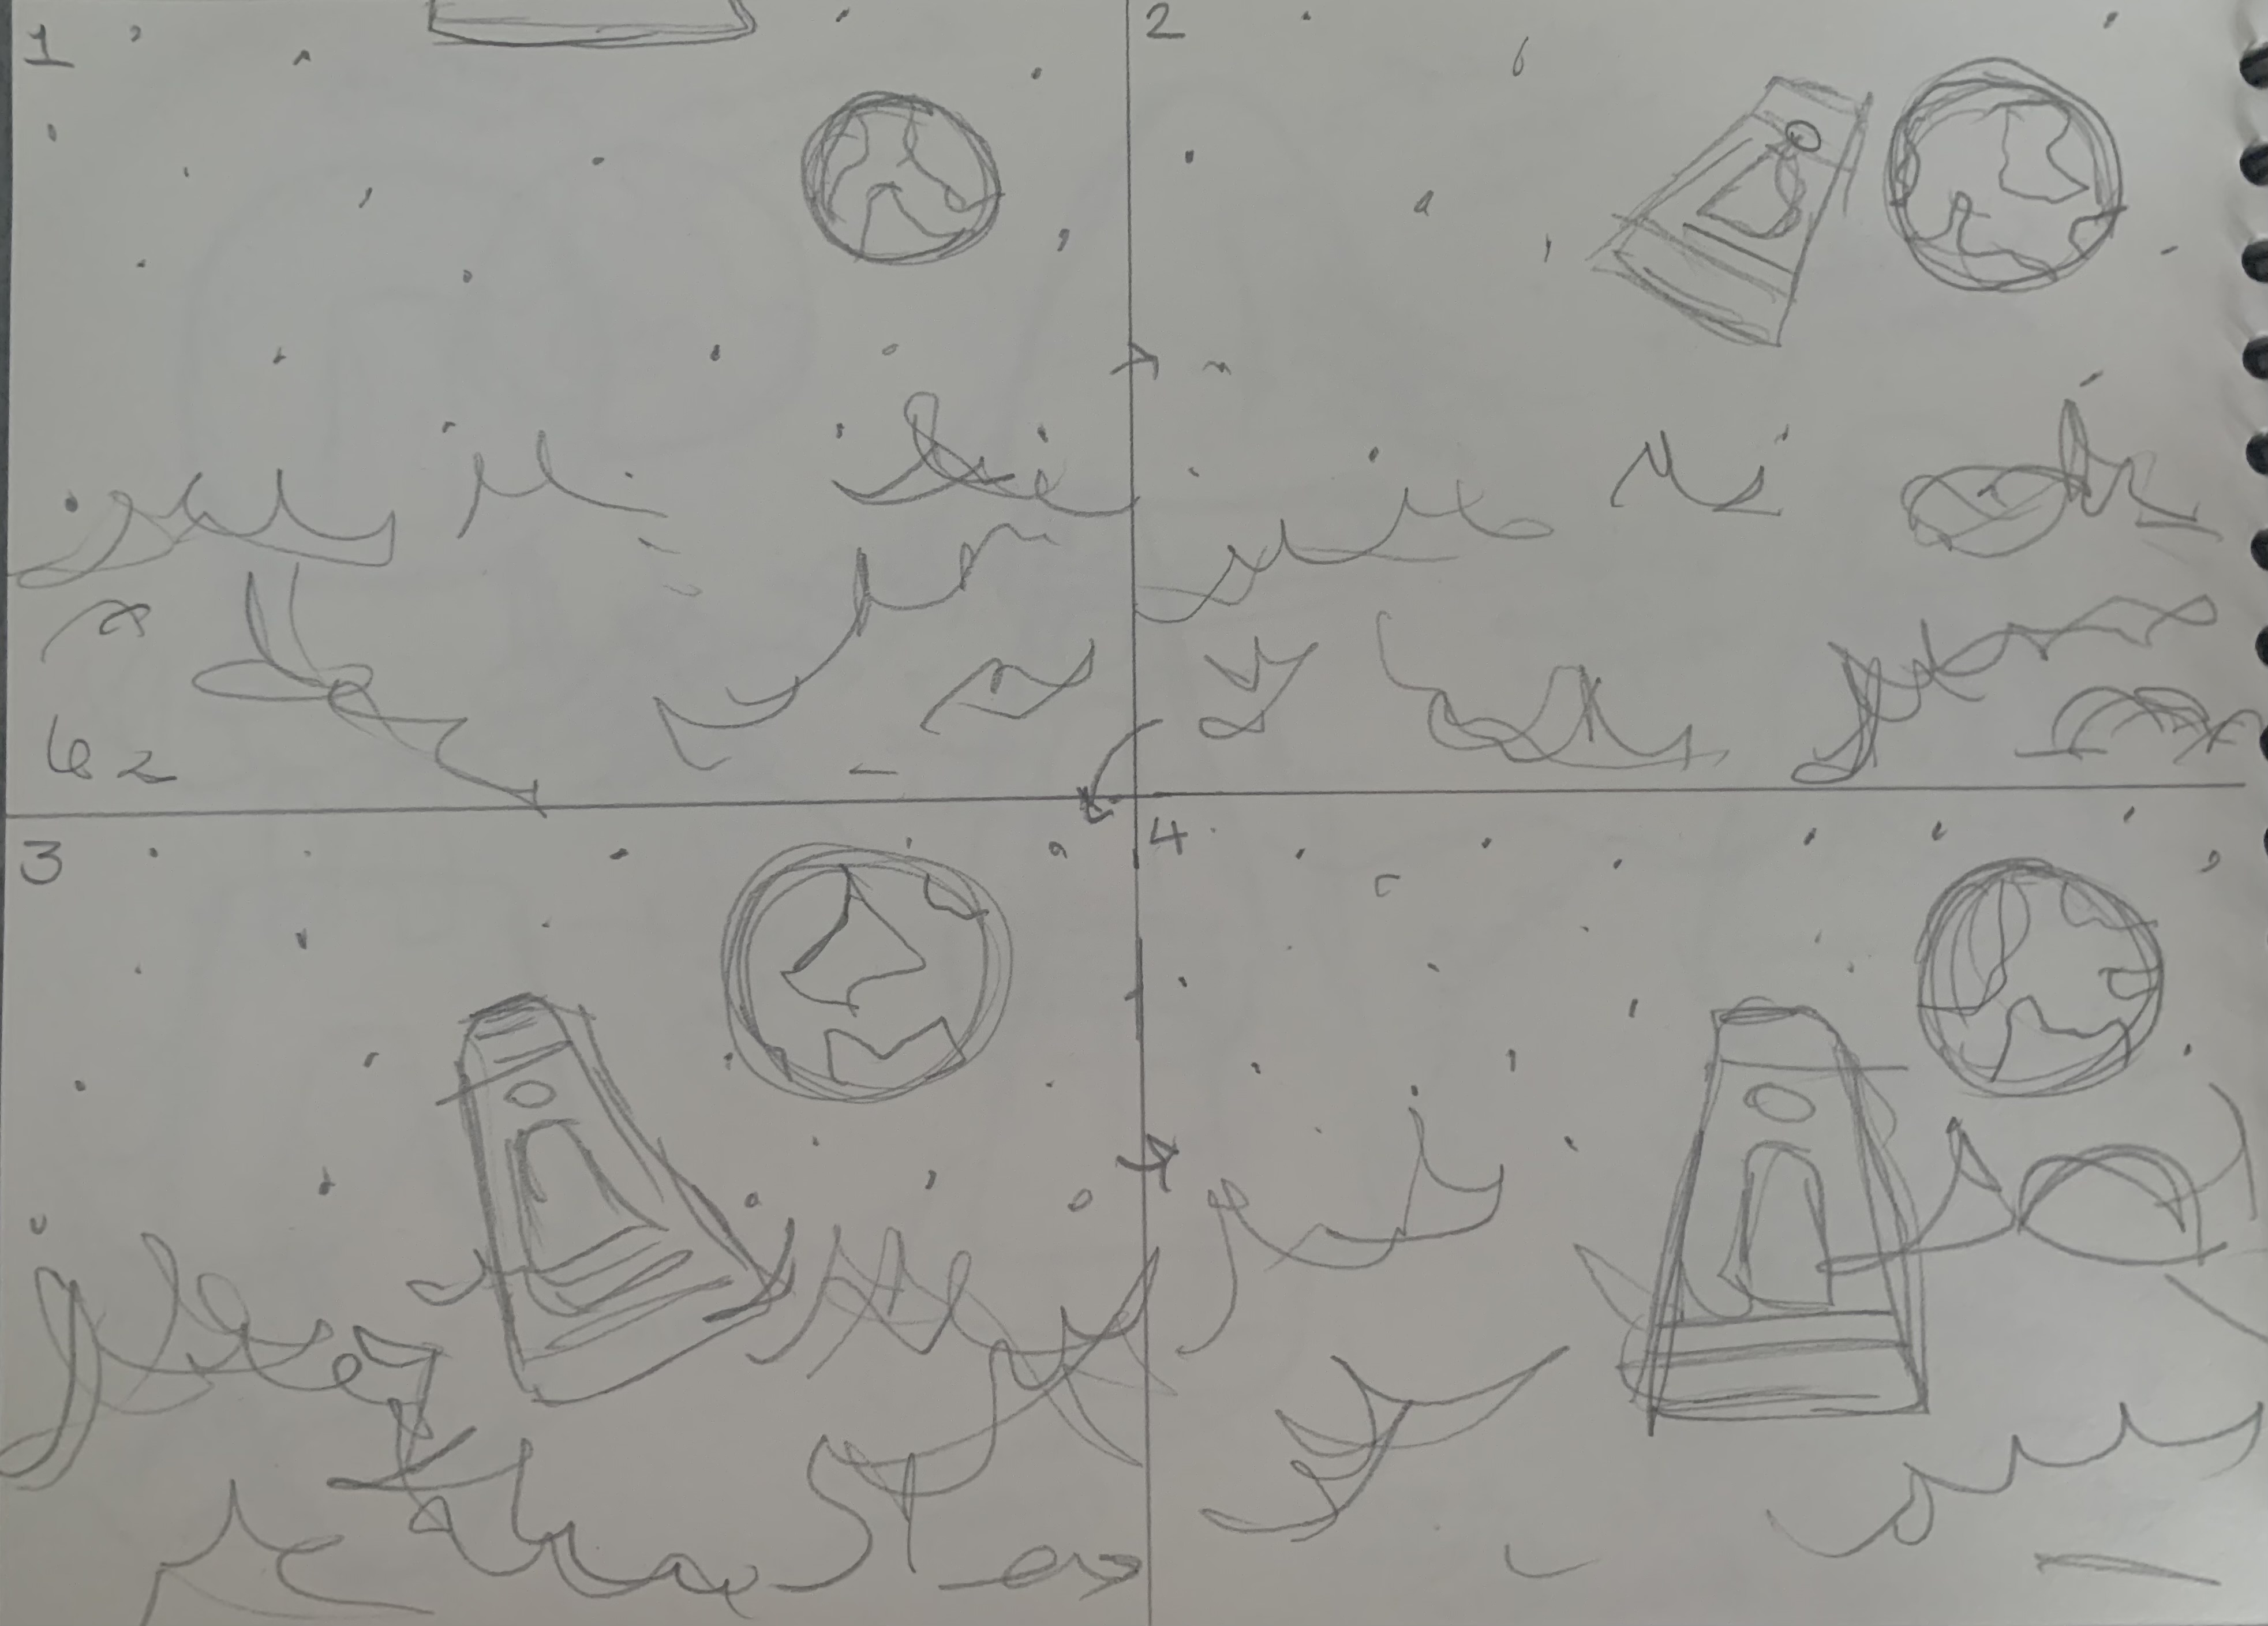
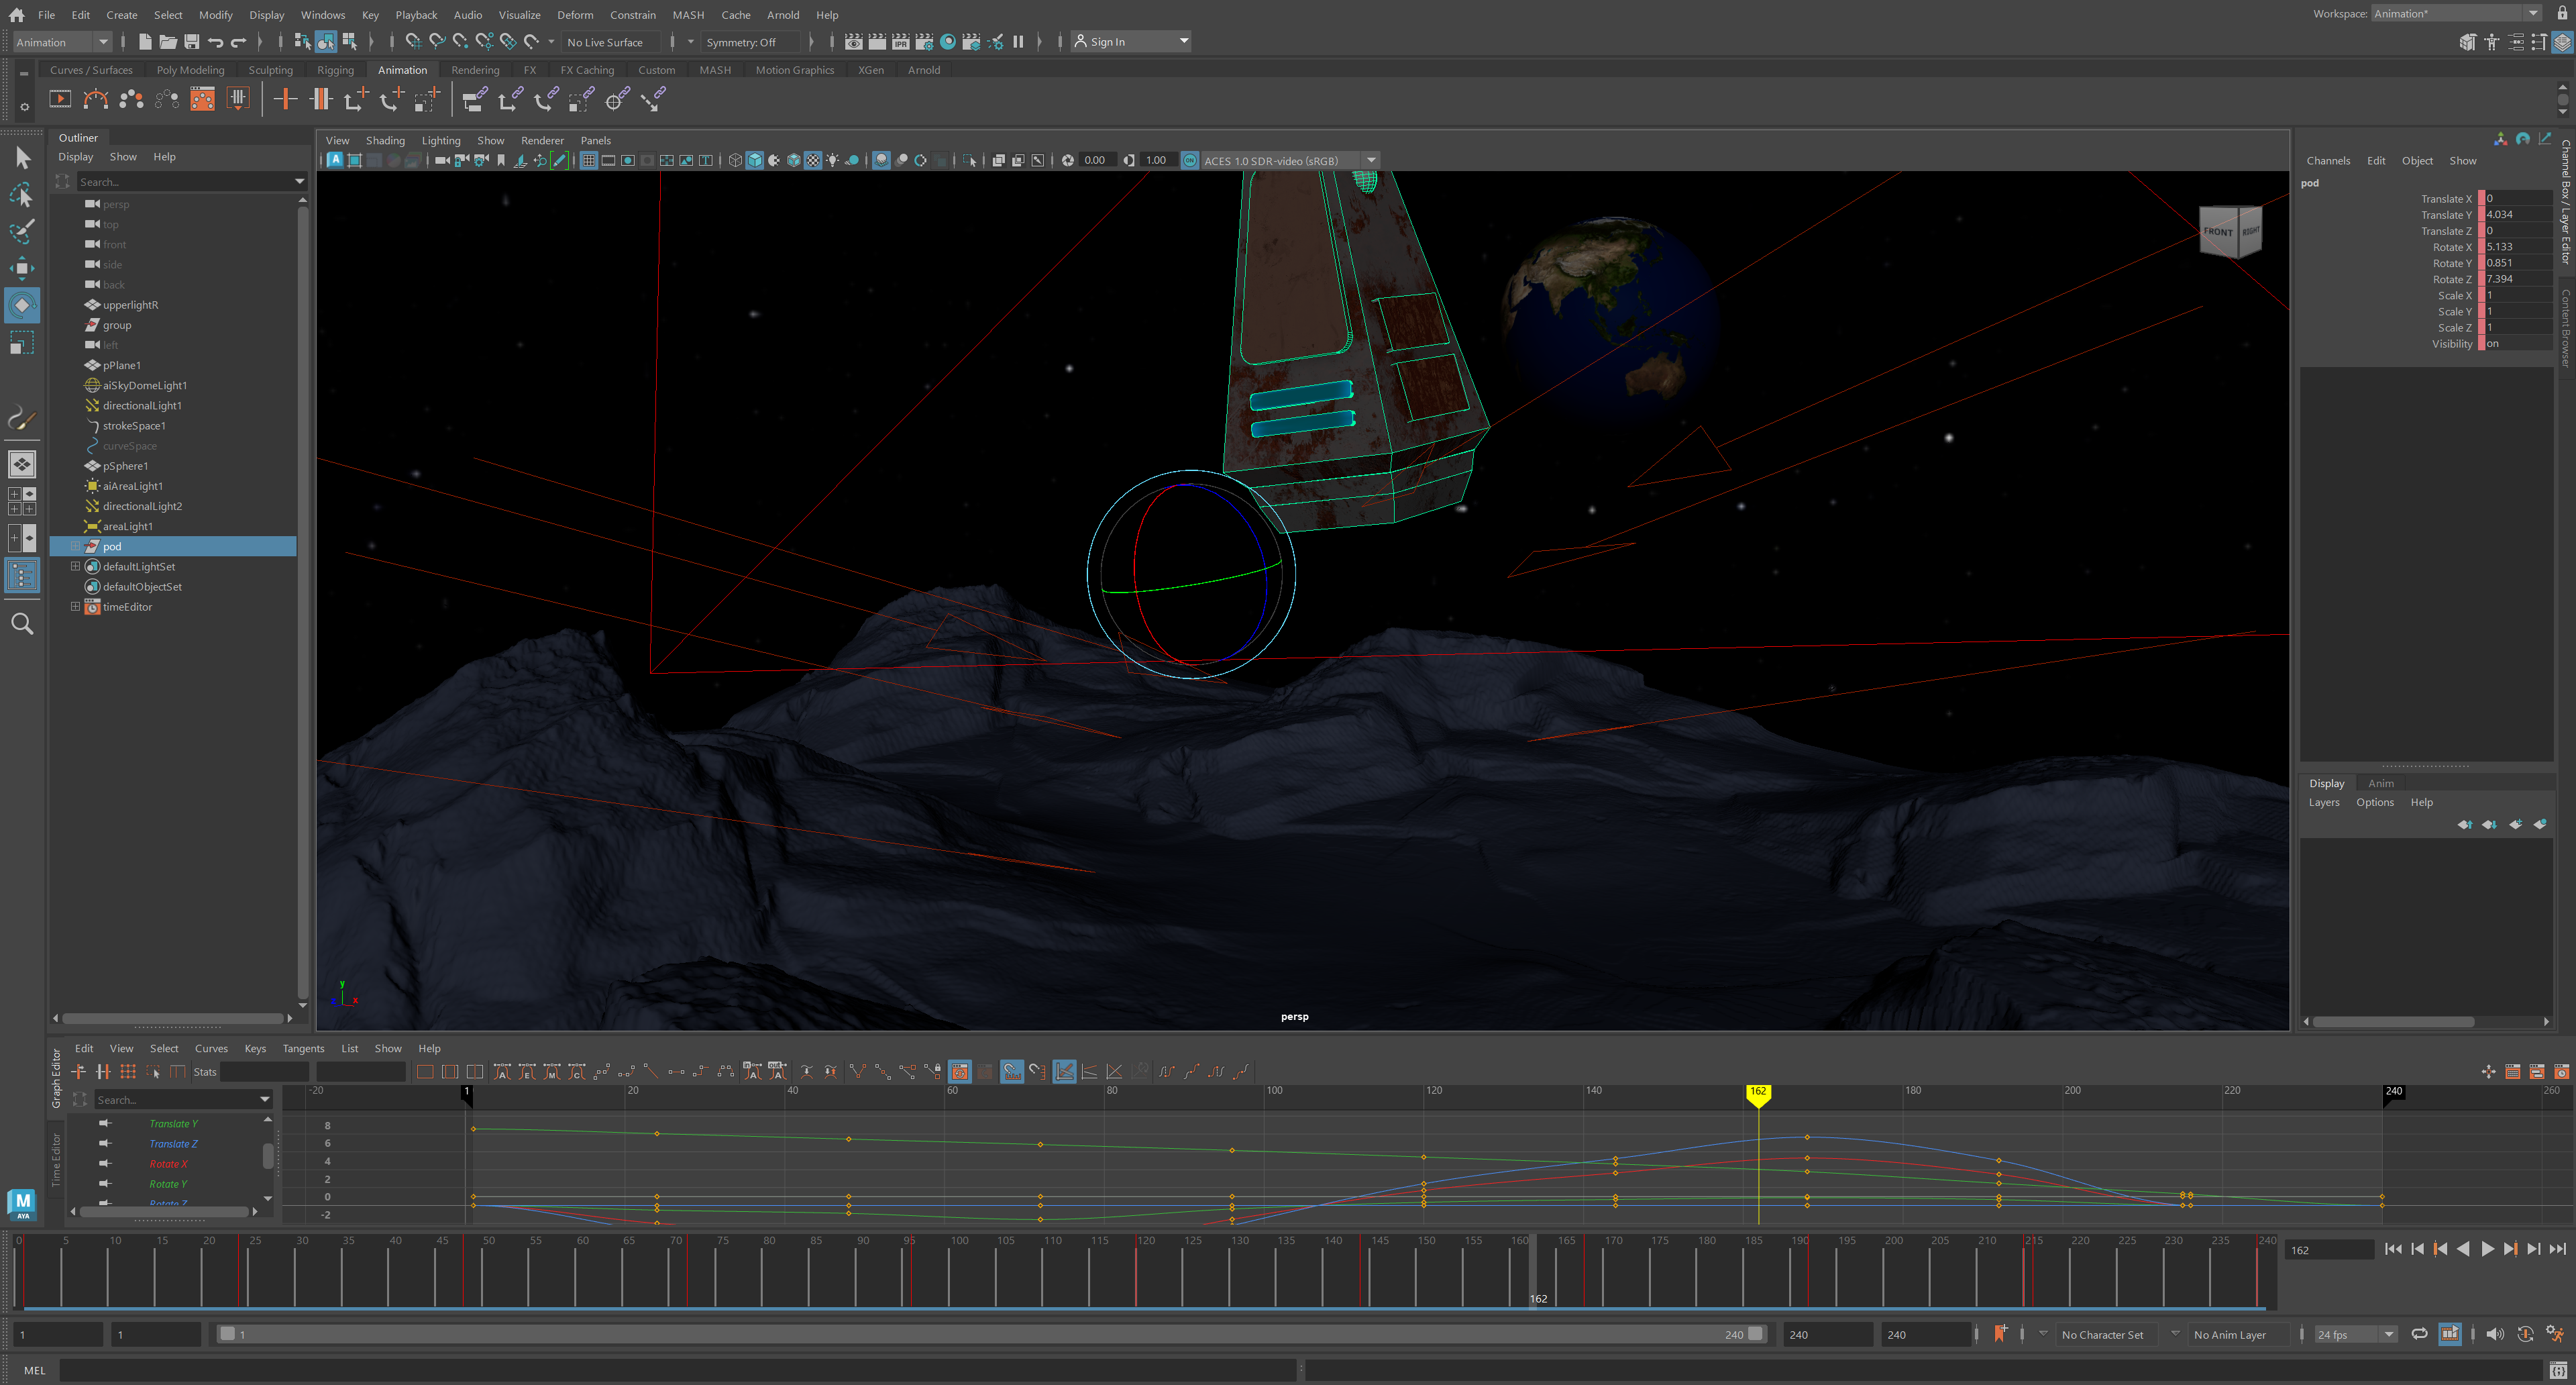
Using the animation timeline in Maya, I am able to alter each individual model and it’s aspects to move and scale across a timed period. Using the above storyboard, I began individually animating each piece to follow that plan. Starting with the Earth, I knew that I was only going to make that spin slightly so this was the easiest to begin with. I keyframed the start of the timeline and every frame I adjusted the object slightly. A great tool in Maya is that it automatically fills in the rest of the frames which is very time efficient and ensures that the animation will contain smooth movements. Once I had 10 seconds of the Earth keyframed and moving, I went on to animate the actual space pod.
The space pod had a lot more intricate movements as this was storyboarded to come in from the sky and land on the surface. I ensured that the pod had fluid movement like it was falling from the sky. This meant keyframing the points where the space pod was falling to the surface and also tilting it to act as though it was swaying side to side. This finalized the escape pod landing on the ground. Once all the animated models were complete, it was time to export my final version of this project.
Final Animation Render
Here you can see my final Rendered Animation produced in Autodesk Maya. This completed scene has designed lighting and displays a final animated environment for my space-based escape pod.
References
Duvernay, E., n.d. Apollo program – 3D render. [Online]
Available at: https://www.dreamstime.com/stock-photos-apollo-program-d-render-moon-surface-saturn-v-background-earth-elements-image-furnished-nasa-image38736133
[Accessed 04 May 2023].
Rich, G., 2021. These Auto, Defense Giants Are Teaming Up For First Time. [Online]
Available at: https://www.investors.com/news/moon-rover-artemis-mission-to-be-developed-by-lockheed-martin-general-motors/
[Accessed 04 May 2023].
solarsystemscope.com, 2019. Solar Textures. [Online]
Available at: https://www.solarsystemscope.com/textures/
[Accessed 05 May 2023].