In this session we were given a very specific brief to work with compared to previous weeks. This consisted of getting into groups of 3 and developing an onboarding sequence for business specialising in the online selling of a niche greeting card range. The main importance was the storytelling element for engaging the audience and inviting them into the business concept. We were also given a step-by-step process on how we should organise our limited time.
- Thought shower a concept (10 minutes)
- Decide on a concept that seems to have legs (3 minutes)
- Agree on a target audience (2 minutes)
- Work individually on a draft for the onboarding sequence in sketchbooks only – quantity not quality (45 minutes)
- Compile the best ideas into one idea and work on this back as a group (you will need to come up with a way of combining ideas visually (30 minutes)
- Choose a spokesperson to present your idea to the class
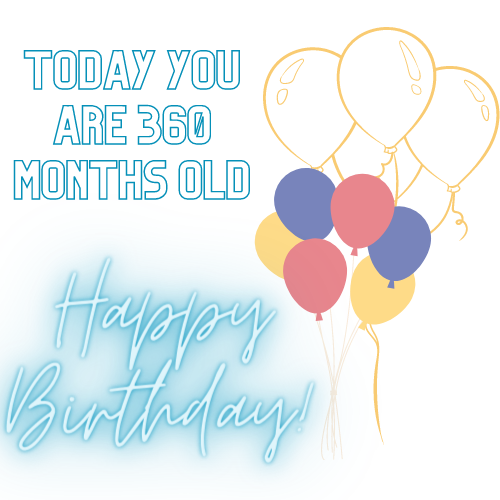
The first course of action was to get into our groups and on a large piece of paper, mind map some ideas that could develop into a niche enough card business. The first idea that was created was actually the one we decided to stick with and develop further. This was the offensive cards business that would sell intriguing cards like death countdowns and Karen awards. We linked this idea to an unusual milestones card business which we also thought was a niche idea and could link if we wanted to add more depth. We created a few more ideas like sensory texture cards or Photoshop ideas but we realised there was a lot of businesses that do this already. Once we decided on the main idea, we developed our target audience. It was obvious that you need a dark sense of humour to receive one of these cards but realistically we can target all ages. We increased our audience size by adding an anonymous sending option so you may receive a card as a practical joke. Below is the mind map we created to explore these ideas.

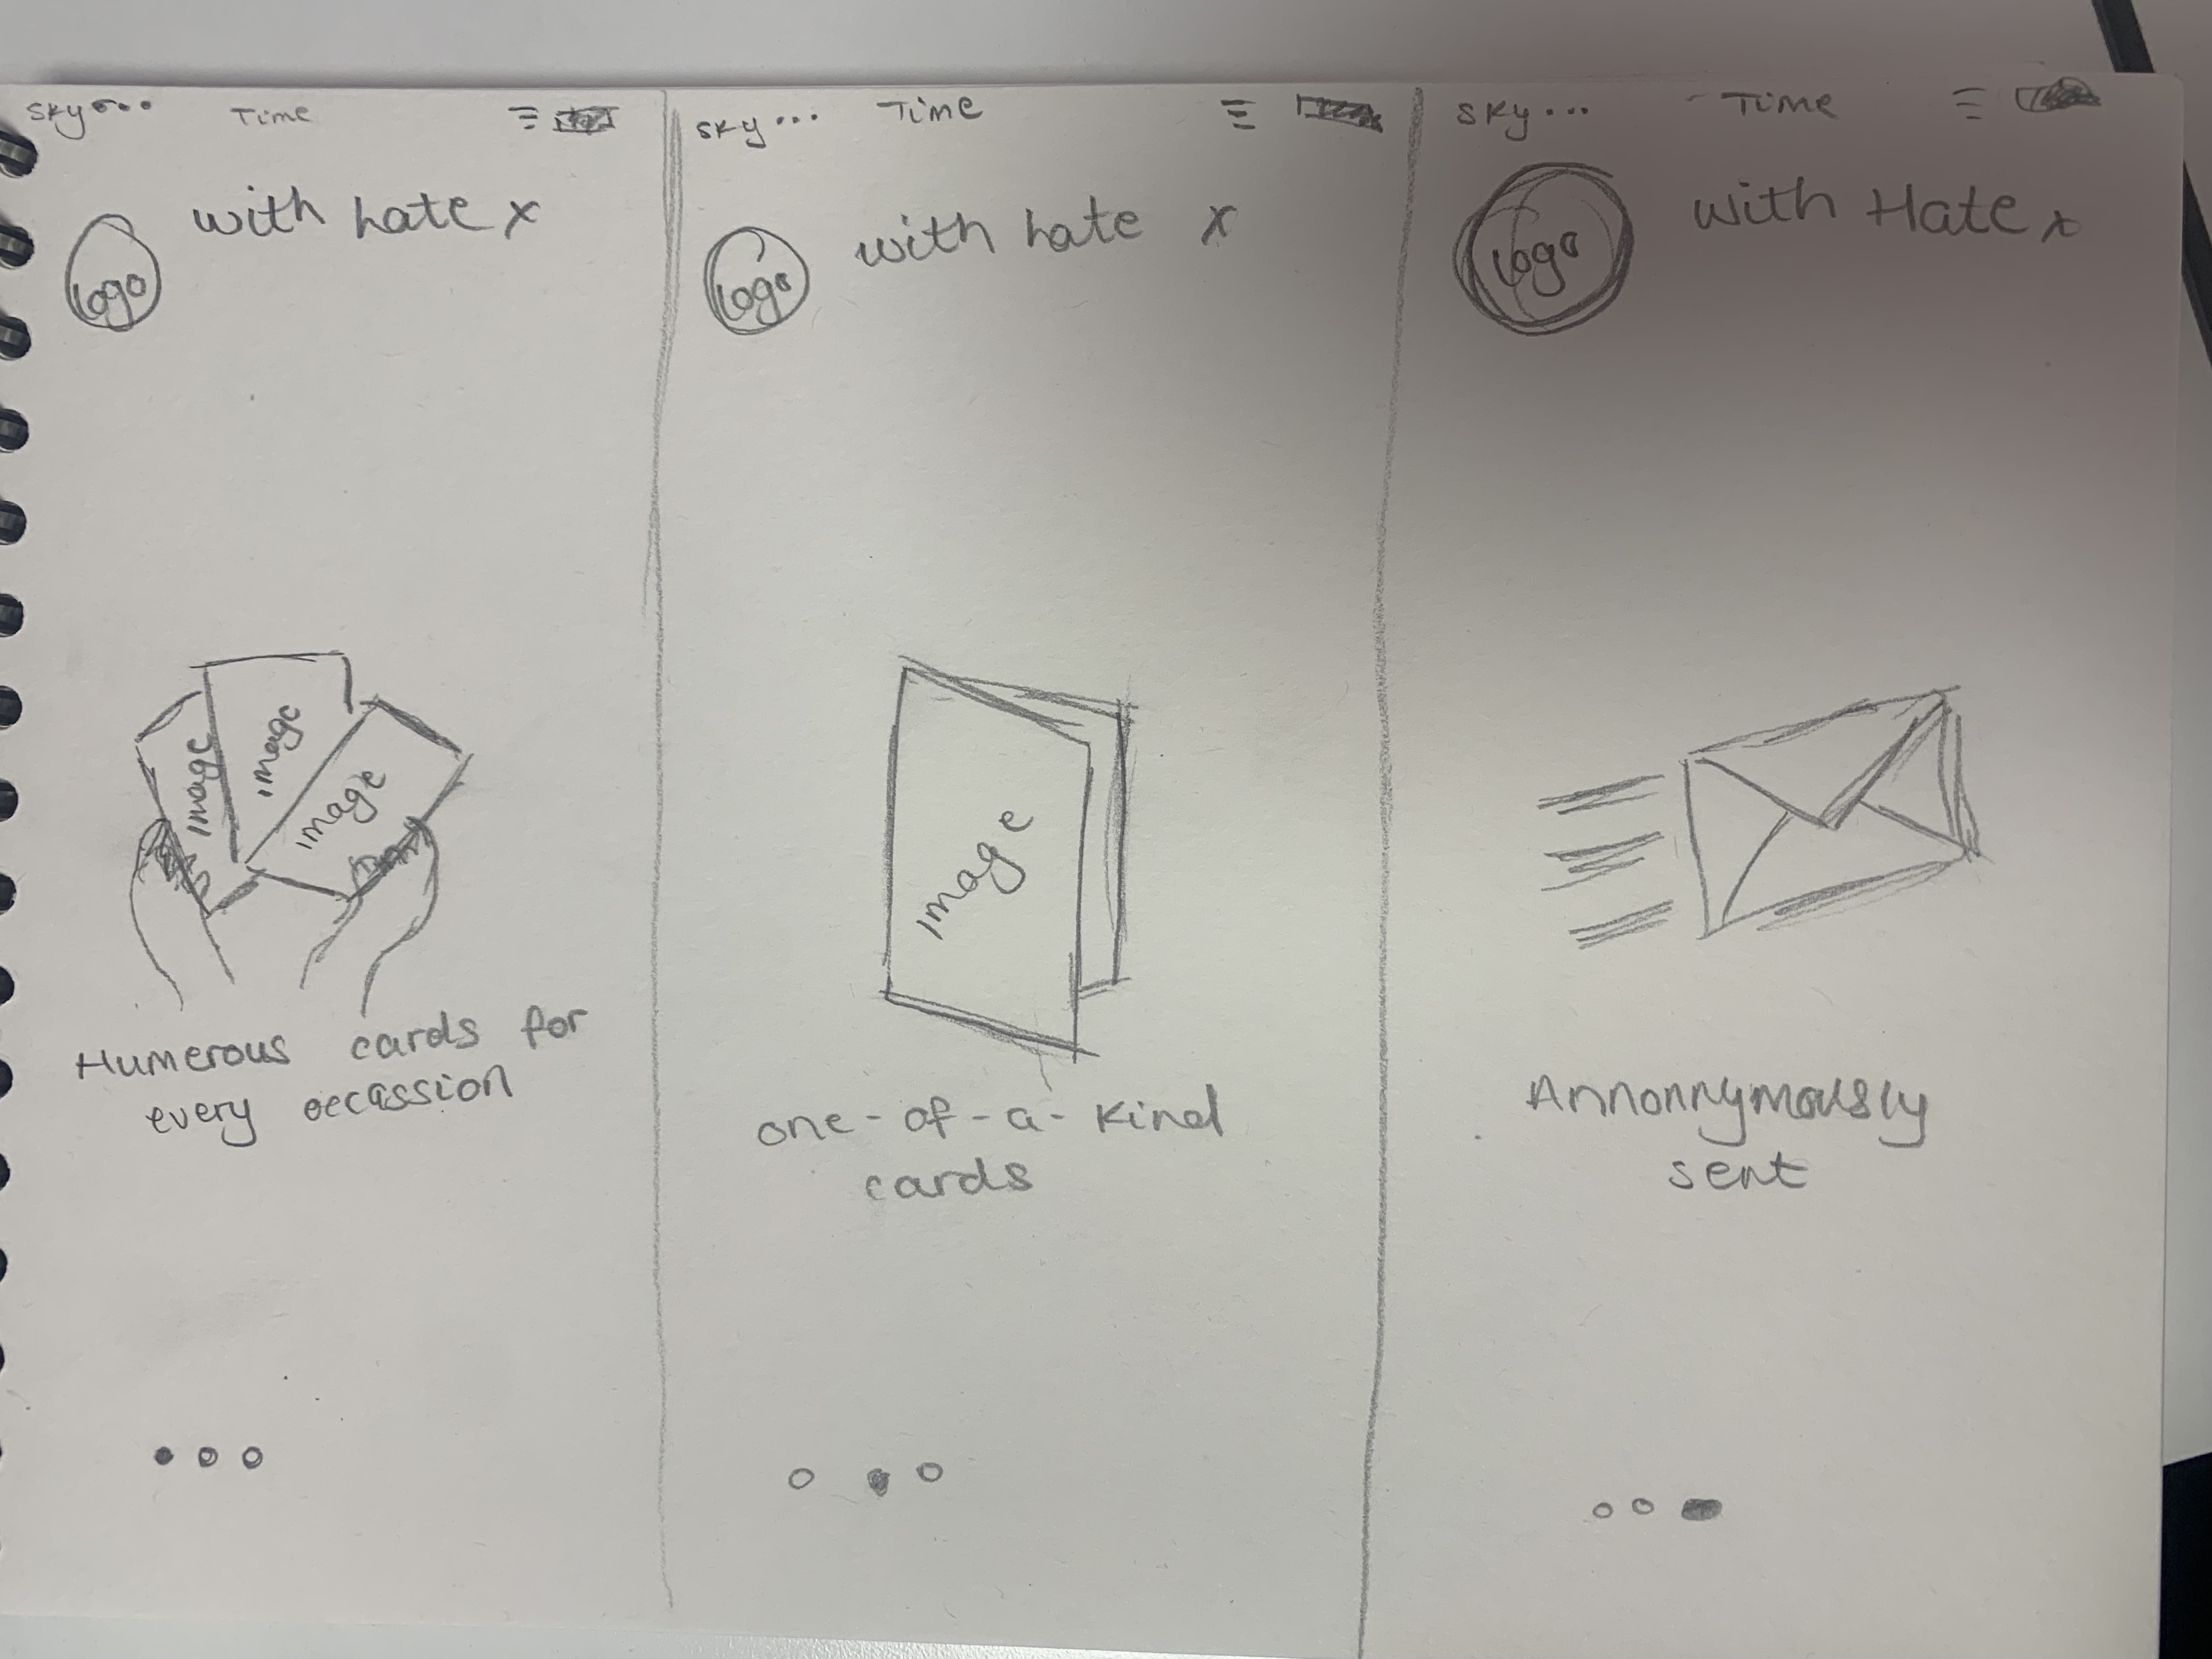
The next task was to go away individually and create numerous onboarding sequence ideas that we could combine and find the best elements of each for a final decision. We all really struggled trying to produce original layout ideas so it was mainly the content in each slide changing. In the end, we didn’t spend as long as we were set on the sketching side and finalised on a set sketch and design within about 20 minutes. As a group, we had run out of ideas and was motivated to get a well-thought out design produced digitally. This ended up being very simple with basic elements which is the sketch as shown below.
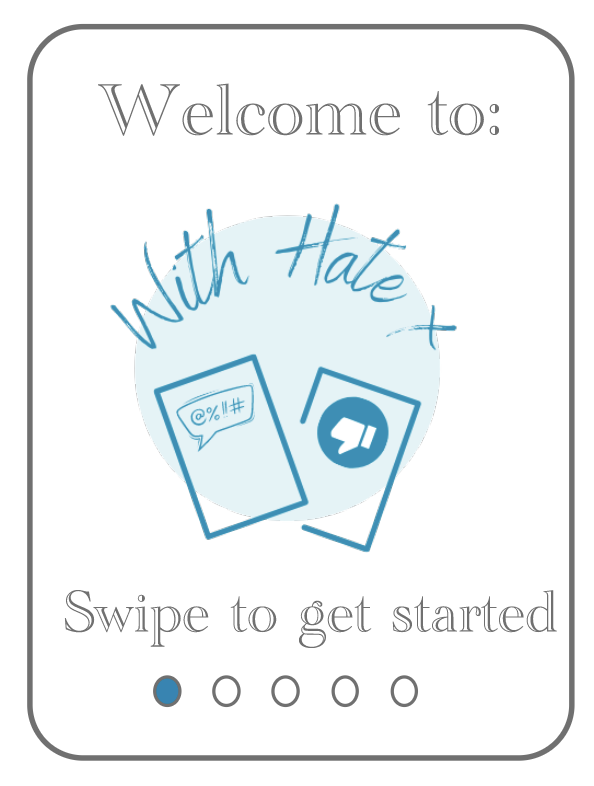
Our first approach on the computer was to design a basic logo within about 5-10 minutes. We decided on one of the group’s designed which was a play on words emphasising an insight into the business. The blue colour scheme was agreed on as we felt it was a calming approach. However, if we look at colour theory, blue could seem as “icy, distant, or event cold” which is the feel we want to give off with our designs. (Cherry, 2020). After this was created, it allowed us to move onto the actual onboarding sequence we need.

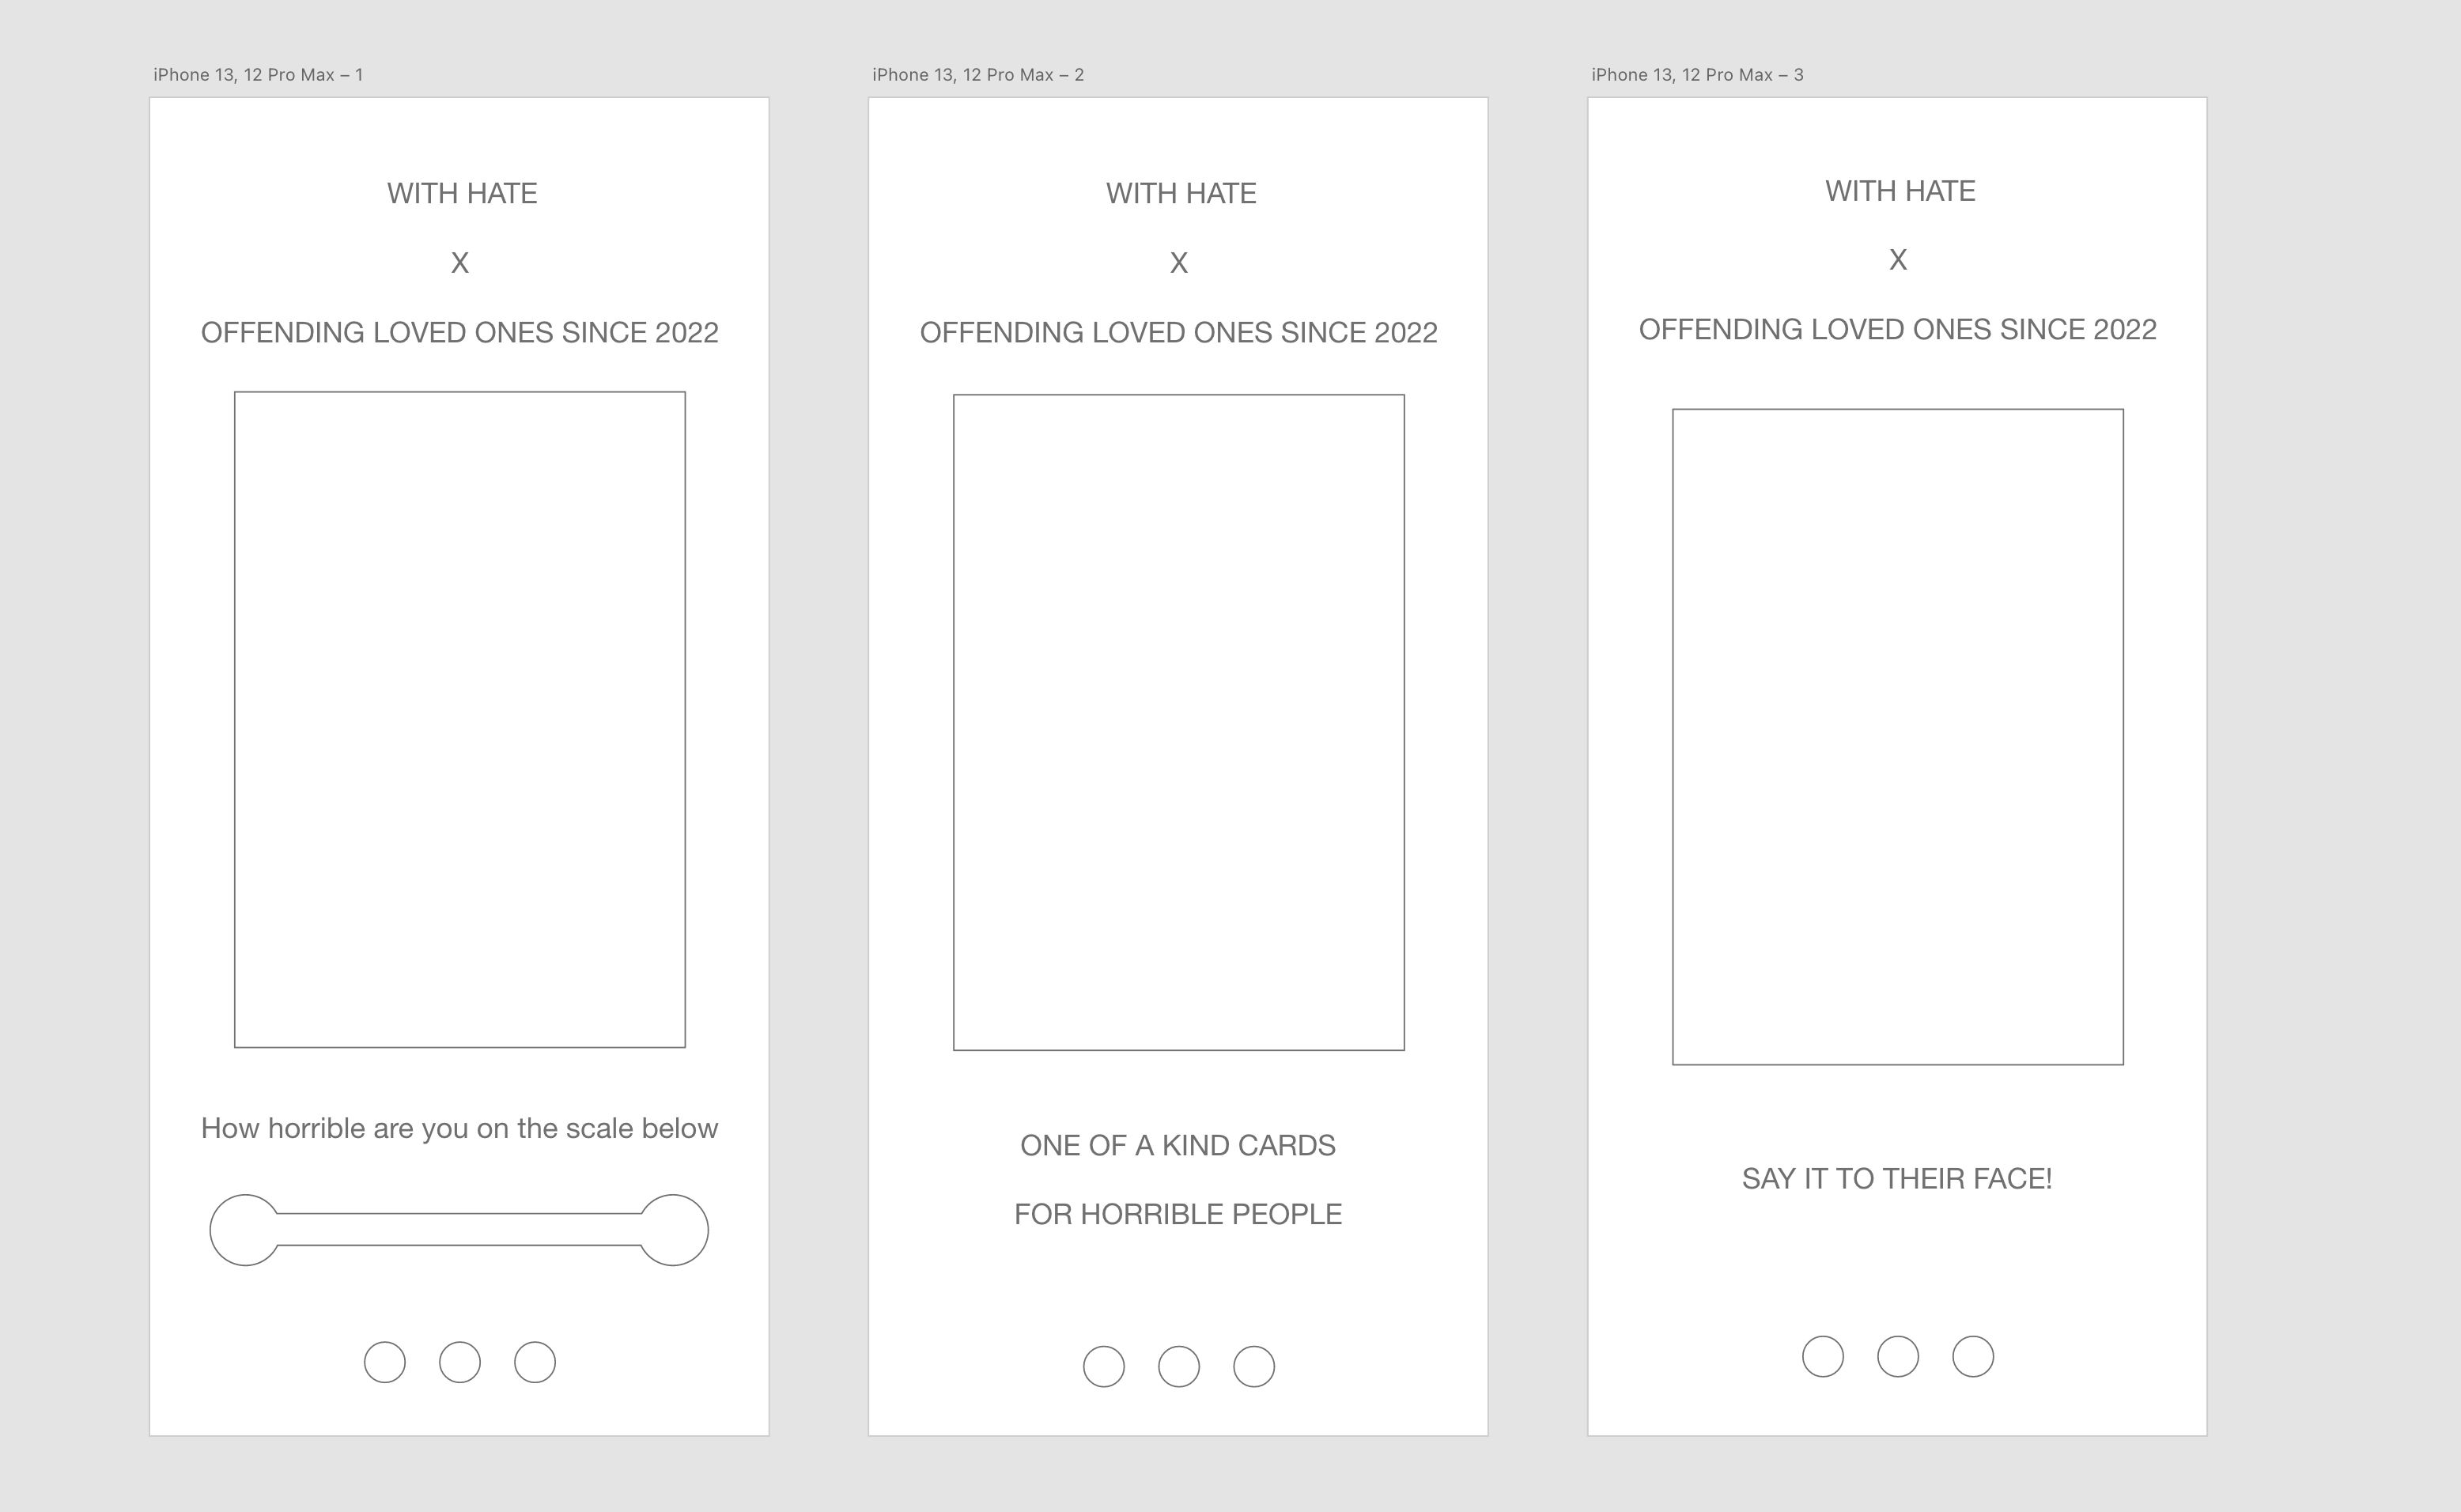
Individually, we all went off on Adobe XD to produce our own onboarding sequences using the sketchbook design previously mentioned. These were all included into the final presentation as they all equally show different stages of the onboarding process. Two of our group focused on a detailed mid-fidelity prototypes and the other prototype included more creative elements. The mid-fidelity creations focus on the overall layout of the onboarding and how this would explore the brief given. If we had more time, this would expand into a high-fidelity prototype with opportunities to have a full proof colour scheme and more design work involved.
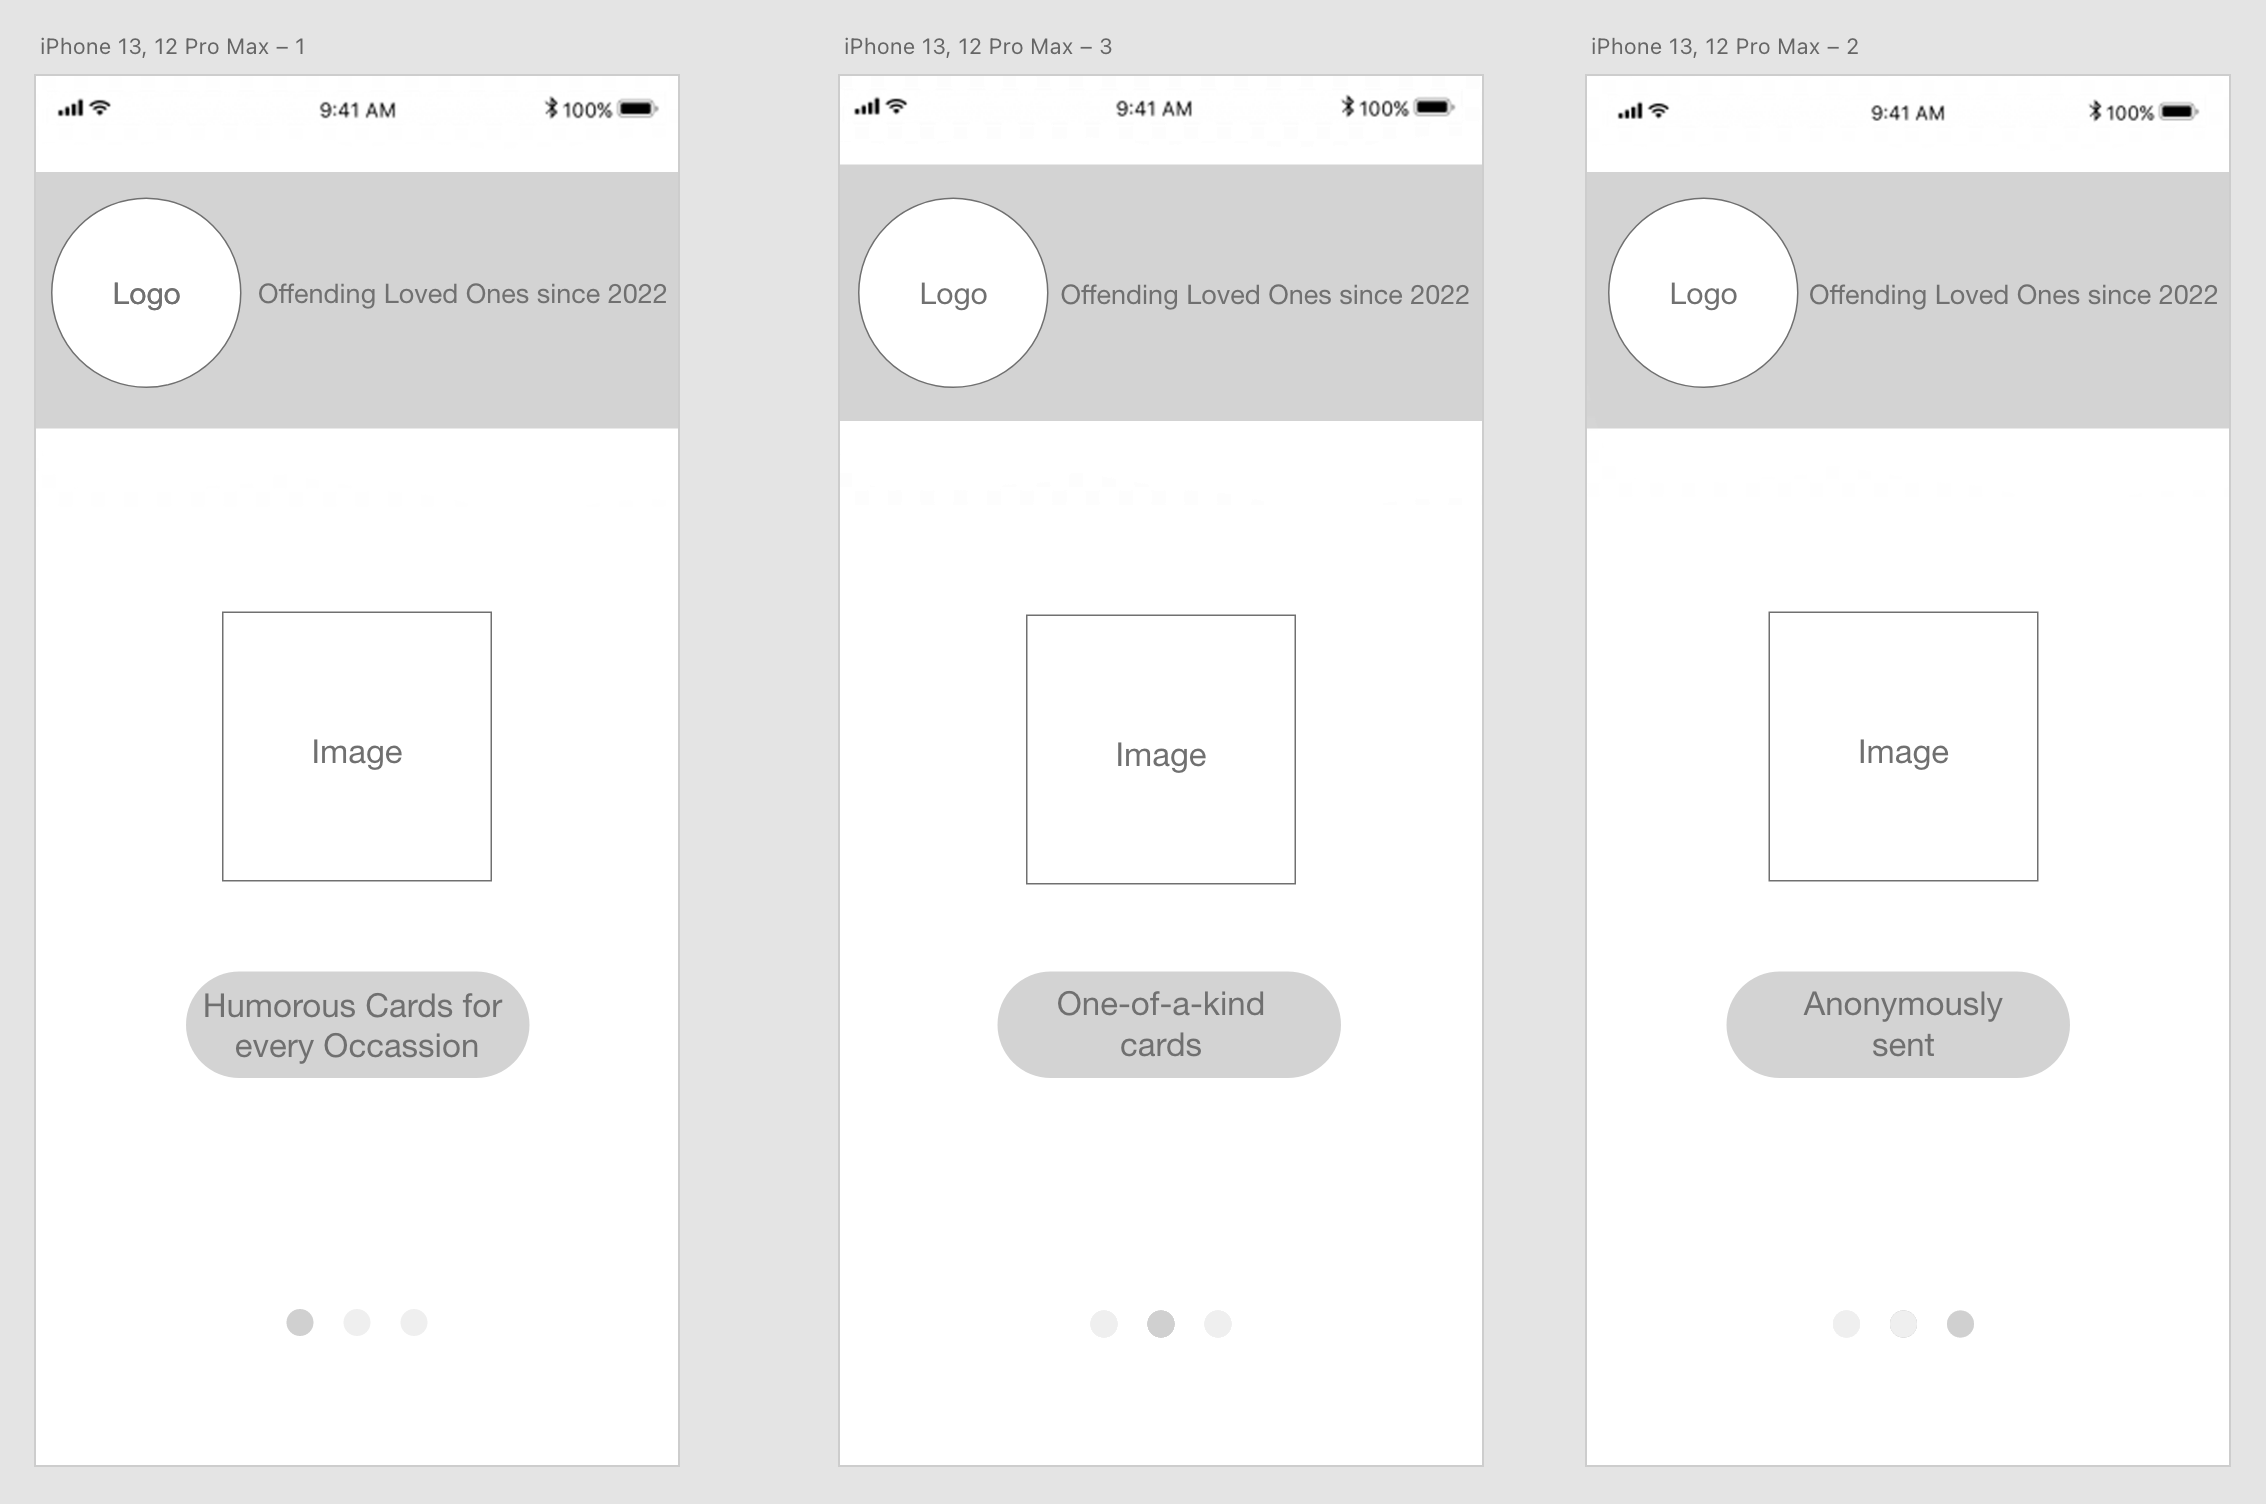
The final XD prototype was created with more of a creative approach and less of a detailed layout. This meant we were able to see how our logo and colour scheme would look as an onboarding sequence. The design choices we had made as a group included typography, images, and colours. This high-fidelity prototype is demonstrated in screenshots and the link is below so you can view the whole process produced.


https://xd.adobe.com/view/4ed52c1d-373d-43f3-8dd3-af7e64b8bfa2-1b86/
The final step we decided to include was a 5 minute example of what the card design would look like. This was created on a design site called Canva which allowed us to use free stock images and text designs of a very simple card. We wanted to included this to emphasise how niche this idea was and explore one of our many options for different designs. Again, this was a very quick and simple design we created and it added an extra element into our presentation which allowed viewers to have a feel for what we want to produce.
In my opinion, this was the most successful group project we have created thus far. We have worked together in a team before therefore, we had group chemistry which allowed our ideas to be even more crazy and out there as we weren’t afraid of saying something stupid. Our personality types shone through which meant our Belbin team roles became more confident and involved in the work.
Our Padlet link for all of our group work for the session: https://padlet.com/ljmagowan2020/k398449umhasstfc
References
Cherry, K., 2020. The Color Psychology of Blue. [Online]
Available at: https://www.verywellmind.com/the-color-psychology-of-blue-2795815
[Accessed 15 October 2022].